
(DISCLAIMER: I am not a doctor, and you should consult your healthcare professional before starting any health regimen. Some links are commissioned and supports the blog)

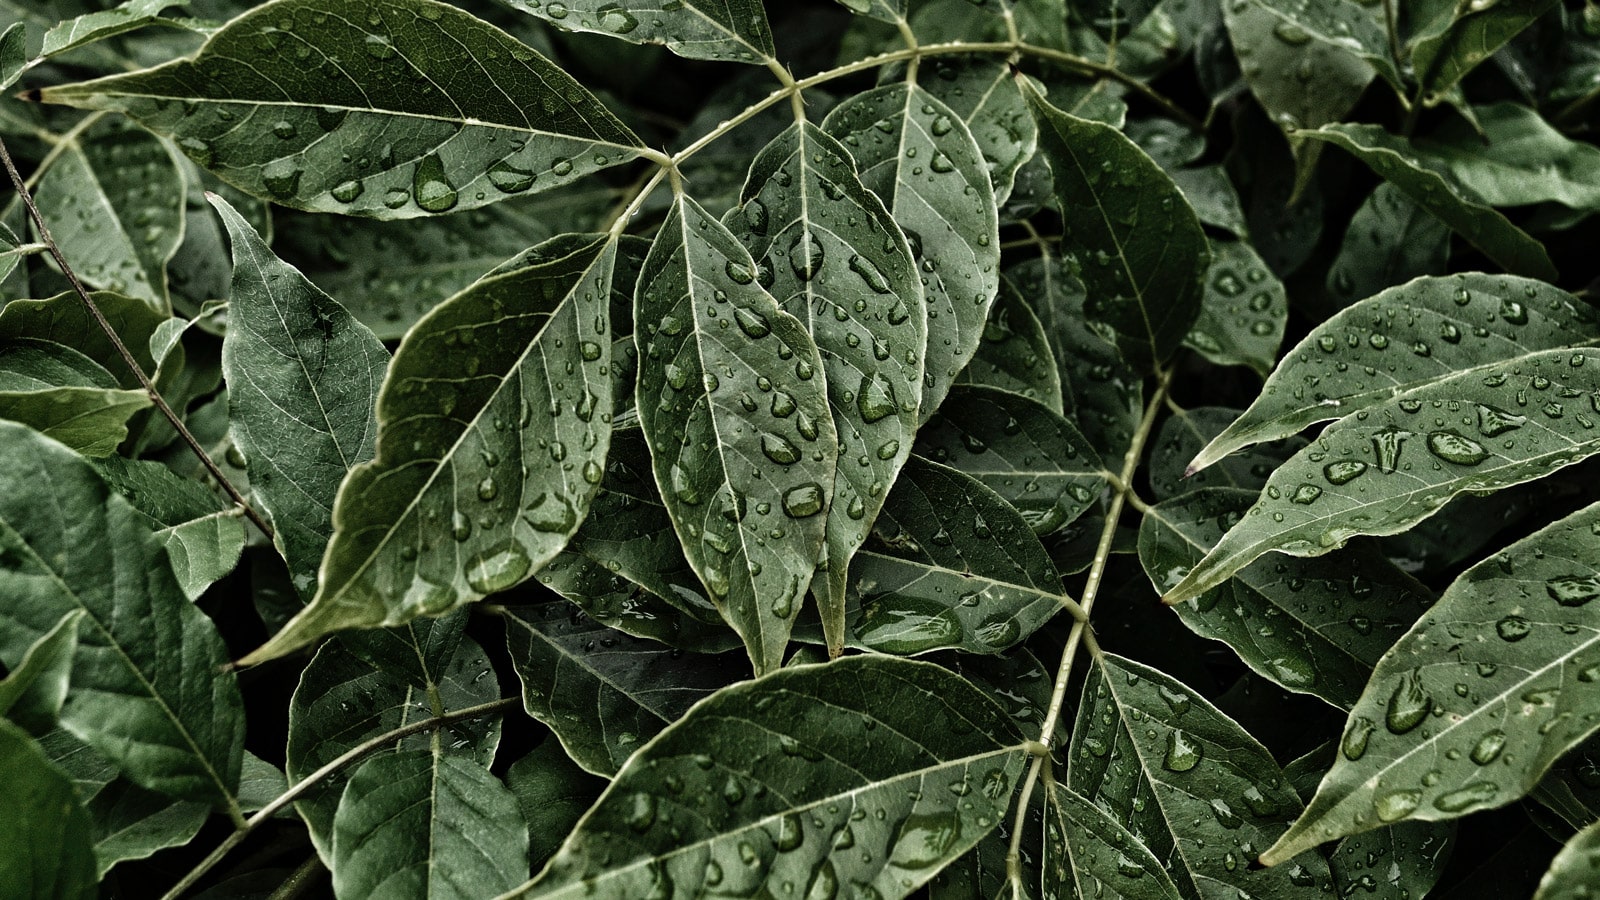
A pile of rosemary plant material sits on the counter, needles sharp and green. A citrus peel curls in a bowl, bright as sunshine. When the pot starts to warm, steam fogs the kitchen window and the whole room smells like a garden after rain.
If you don’t have a still, you can still make something wonderful. You can make a scented plant extract or an infused oil that works beautifully in body oils, balms, and DIY blends. What you won’t get is the same strength or purity as true steam-distilled essential oils or pure essential oil.
In this guide, you’ll learn three no-still methods that produce homemade essential oils: a steam-and-ice capture that makes a hydrosol-like aromatic water, an oil infusion for skin-friendly herbal oil, and an alcohol extract for stronger scent in sprays. You’ll also get simple safety tips and ideas for using what you make.
Key Takeaways
True essential oils are made by steam distillation (or cold pressing for some citrus). They’re highly concentrated, which is why a few drops can scent an entire blend.
Without a still for steam distillation, home methods usually make one of these:
- An aromatic hydrosol or floral waters (light scent, short shelf life, great for sprays).
- A herb-infused carrier oil (soft to moderate scent, ideal for body care).
- An alcohol extract (often stronger smelling than an infusion, best in sprays and cleaners).
Here’s a quick way to choose a method based on the plant:
Leafy herbs like rosemary, mint, and sage tend to do best as an oil infusion or alcohol extract, since their aroma transfers well into fat or alcohol.
Citrus peels are great for alcohol extracts and can also scent oils, but they can raise sun sensitivity on skin (more on that soon).
Delicate flowers like lavender and rose can work in all three, but expect a gentler result unless you use a lot of plant material.
One safety rule worth keeping close: don’t put strong extracts on skin without dilution, and always patch test first. Even “natural” can cause skin irritation.
Before you start: pick the right plants, tools, and a safe setup
Your results depend less on fancy gear and more on three basics: plant quality, dryness, and clean containers. If you start with tired herbs or a damp jar, you’ll get a flat scent or a batch that spoils early.
Choose beginner-friendly plants. Lavender, rosemary, mint, and lemon peel are easy, forgiving, and pleasant in home essential oils blends. Pick herbs that smell strong when you rub a leaf between your fingers. That quick pinch test tells you the plant still has aromatic compounds to extract essential oils.
Be careful with plants that can irritate skin fast. Cinnamon, clove, oregano, and some thyme types are common offenders. They can feel “warming” at first, then turn into redness or burning. Save those for later, after you’ve practiced with gentler herbs.
You probably already have what you need: a glass container, a saucepan with a lid, a small heat-safe bowl, a strainer, cheesecloth (or a clean cotton cloth), ice, and a dark glass bottle (or any bottle stored in a dark cabinet). If you’re making an alcohol extract, add a tightly sealing jar and clear labels.
Set up for safety, not speed. Follow these safety instructions by working with good ventilation, keeping heat low, and keeping alcohol away from flames and hot burners. Label and date everything, and store finished blends, which offer potential medicinal benefits from the plants used, where kids and pets can’t reach them.
Fresh vs dried herbs: how moisture can ruin a batch
Water is the quiet troublemaker in DIY extracts. Fresh herbs carry moisture that can lead to cloudiness, mold, and a shorter shelf life, especially in oil infusions. Oil and water don’t mix well, and trapped droplets can spoil the whole jar.
To decide between fresh or dried herbs, take the safest route and use dried herbs for infused oils. If you only have fresh herbs, air-dry them for a day or two, or lightly wilt them on a towel until they feel less juicy. For fresh or dried herbs, a gentle bruise (rolling with a clean bottle, or crushing lightly in your hands) can help scent release without adding water.
A few practical habits help a lot: use clean, fully dry jars, keep plant material below the oil line (no floating islands), and never “top off” with wet spoons.
Vitamin E is fine to add, but keep expectations realistic. It can slow oxidation (rancid smell), but it’s not a preservative that prevents mold.
A quick word on skin safety and photosensitivity
Citrus peels can make blends smell fresh and sunny with citrus oils, but they can also make skin more sensitive to sunlight. A simple rule works well: if you use citrus-based infused oils or extracts on skin, avoid direct sun on that area for 12 to 24 hours, or use the blend at night.
Also watch common irritants. Cinnamon bark, clove bud, and oregano can be rough on beginners, even when diluted. If you’re new, stick with lavender, rosemary, mint, and a small amount of lemon peel to create essential oils, then build from there.
3 no-still methods that capture plant scent at home
These methods won’t produce commercial essential oils, but they can still smell lovely and feel special in daily life. Think of them like homemade stock compared to a bouillon cube. One is fresh and gentle, the other is concentrated and industrial. Both have a place, but they’re not the same thing.
Method 1: steam-and-ice “hydrosol” capture (a gentle, low-tech approach)
Best plants: rosemary, mint, lavender, lemon peel, eucalyptus leaves (if you tolerate the scent well).
What you’ll make: a hydrosol-like aromatic water, lightly scented.
This simple stovetop method is the cozy kitchen approach. You’re collecting condensation, the same way a cold glass “sweats” on a summer day.
- Place a heat proof container in the center of a large stockpot. Add distilled water around the container (not inside it).
- Add your plant material to the water. A loose handful of herbs or a few tablespoons of peel is enough to start.
- Put the lid on upside down so the handle points into the pot. Add ice on top of the lid.
- Simmer the mixture on very low heat for 30 to 60 minutes. Steam rises, hits the cold lid, then drips into the collection vessel.
How to tell it worked: the liquid in the collection vessel should smell like your plant. It will look like water, maybe with a faint tint. Don’t expect an oil layer on top like with essential oils. This method makes aromatic water, not essential oils.
Storage: pour into a clean bottle, cap it, and store in the fridge. Use it within 1 to 2 weeks. If it turns cloudy, smells off, or grows anything fuzzy, toss it.
Best uses: linen mist, room spray, foot soak, hair rinse, or a freshening spritz after the gym. Keep it away from eyes, and patch test on skin first.
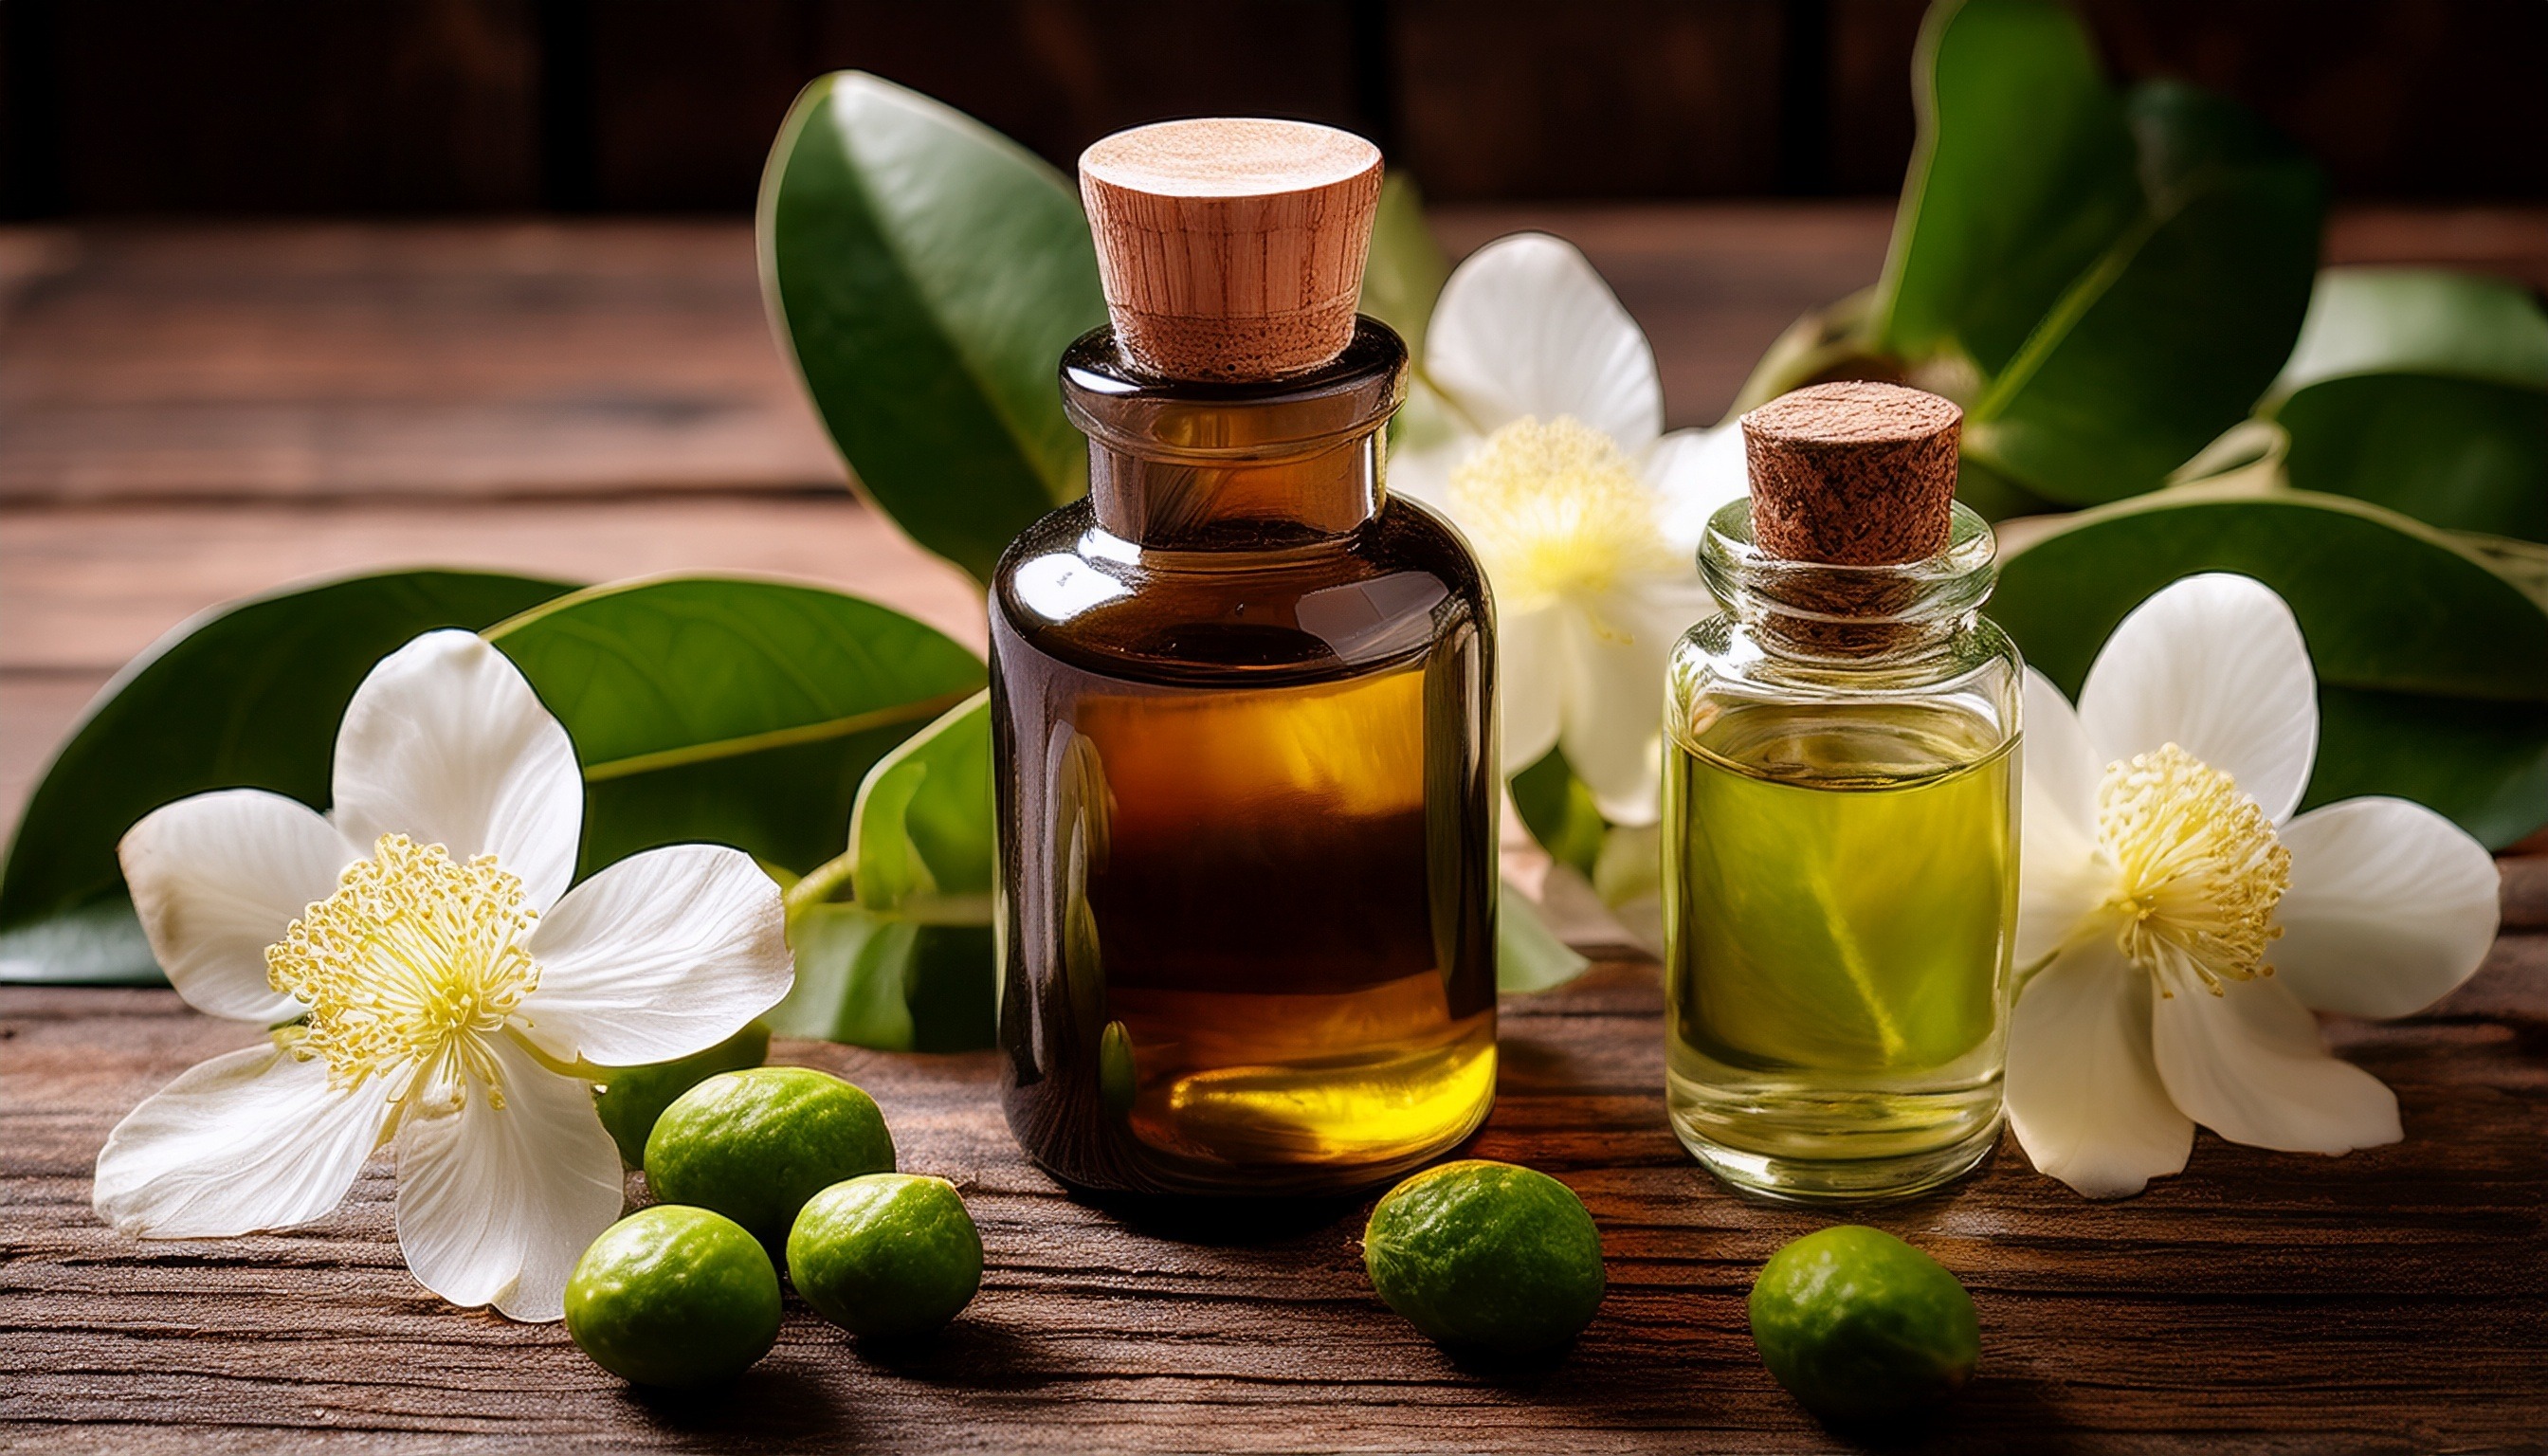
Method 2: oil infusion for a skin-friendly “herbal oil” (closest to DIY body care)
Best plants: dried lavender, dried rosemary, dried calendula (if you have it), dried mint, vanilla bean (for scent, not an essential oils effect).
What you’ll make: a scented carrier oil for body care, usually soft to moderately scented.
This is the method that feels most useful for everyday wellness, perfect for small batches. It gives you an oil you can massage into shoulders, stir into a sugar scrub, or turn into a balm.
You have two options:
- Slow solar infusion (2 to 4 weeks): Fill a clean jar about halfway with dried herbs. Cover fully with a carrier oil, leaving no plant bits above the surface. Cap tightly. Store in a cool, dark place, and gently tip the jar every day or two to move herbs around.
- Quick warm infusion (2 to 3 hours): Put the jar in a pot with a few inches of water (a double boiler setup), or use a crock pot for slow heat. Alternatively, a crock pot works well for small batches with even, gentle warming. Keep heat very low so the oil warms, but doesn’t fry the herbs. Check water levels so the pot doesn’t run dry.
Choosing a carrier oil changes the feel more than most people expect. Sweet almond oil feels light, jojoba feels closer to skin’s natural oils, olive oil feels heavier and can bring its own scent. If you want ideas for using oils on scalp and lengths, this guide on essential-oil hair care tips for thicker strands can help you think through blends and dilution.
How to tell it worked: the oil should smell like the herb when warmed between your palms. Color often deepens too.
Strain well: start with a strainer, then run it through cloth, then a coffee filter if you want clearer oil.
Storage: keep in a dark bottle in a cool cabinet. Most infused oils last 3 to 6 months, depending on how fresh the carrier oil was and how dry your herbs were.
Best uses: massage oil, bath oil (small amount), salves, body butter, and sugar scrubs. Scent expectations stay gentle and herbal, not perfume-strong.
Method 3: alcohol tincture as a strong scent extract (for sprays and blending)
Best plants: citrus peel (thinly zested), dried lavender, dried rosemary, dried vanilla bean, dried spices (use carefully).
What you’ll make: a strong-smelling extract for sprays and cleaning blends.
Alcohol pulls aromatic compounds fast and well, unlike essential oils distillation which needs specialized equipment. The result often smells stronger than a hydrosol or oil infusion, especially with citrus peel.
- Chop dried plant material and add it to a jar (about one-third to halfway full).
- Cover with high-proof alcohol until the plant material is fully submerged.
- Cap tightly, label and date it, then shake for 10 to 20 seconds.
- Store in a cool, dark place for 2 to 4 weeks, shaking once a day.
- Strain the mixture and bottle.
How to tell it worked: the alcohol will take on scent and often color. Citrus turns bright and sharp. Herbs turn greenish-gold.
Safety notes matter here. Alcohol is flammable, so keep it away from heat and open flame, and keep the jar tightly capped. Don’t ingest it, and store it out of reach.
Best uses: room sprays, perfume-style mists (use lightly), and adding small amounts to DIY cleaners. If you want a simple path for household mixes, this post on how to make natural home cleaners using essential oils shows common ingredients and safe handling habits that also apply to alcohol extracts.
Storage: tightly capped in a cool, dark spot, it can last many months. On skin, alcohol can sting and feel drying, so treat it as a spray ingredient, not a body oil.
Make it smell better and last longer: troubleshooting and smart storage
A weak scent is the number one complaint, and it usually comes from one of three causes: not enough plant material, low-quality herbs, or a method mismatch. If your mint barely shows up in oil, try bruising the leaves first, or re-infuse by straining the old herbs out and adding a fresh batch to the same oil. That second round often brings the volatile essences up a notch.
If your blend smells grassy or “cooked,” heat was too high or the infusion went too long on warmth. Low heat protects the brighter notes. For citrus, zest thinly and avoid the white pith, which can smell bitter and muddy in extracts.
Cloudiness and mold are almost always moisture problems. Use dried herbs for oils, clean and dry jars, and keep plant material under the surface. If moisture reaches the plant material, it encourages fuzzy growth, pressure in the jar, or a sour smell, so toss the batch. Skin irritation also counts as a reason to stop. A pretty scent isn’t worth skin irritation or a rash.
Storage rules keep things simple:
Hydrosol-like aromatic water belongs in the fridge and should be used quickly. Infused oils last longer in an amber glass bottle away from heat for better protection. Alcohol extracts keep best in sealable bottles, tightly capped, away from light, and far from flame; sealable bottles ensure optimal preservation.
If you’re using any strong essential oils alongside your homemade extracts, which tend to be milder than store-bought essential oils, keep basic first-aid habits nearby, like dilution and patch testing. Essential oils pack more punch, so this guide on essential-oil first aid kit essentials is a helpful refresher for safe use around skin, minor irritation, and storage.
Conclusion
Industrial stills make pure essential oil, but your kitchen can still make homemade essential oils worth using. A hydrosol-like capture can freshen sheets and hair, an infused oil can soften skin and muscles, and an alcohol extract can scent a room in seconds. The best part is the pace; you get to slow down and notice the volatile essences as plants warm and steep.
For an easy first project, try a lavender oil infusion or a rosemary-mint steam capture, then use your essential oils the same day in a bath, a shoulder massage, or a linen mist. Keep your jars clean, label everything, patch test, and store each blend the way it needs. What scent from essential oils do you want filling your home next week?
Stay Connected for More Natural Living Inspiration
If you enjoyed this post about herbal wellness and love discovering natural ways to refresh your home and wellness, don’t miss out on future recipes and clean-living tips! Subscribe to the blog for weekly DIYs, wellness inspiration, and herbal remedies delivered straight to your inbox.
Don’t forget to visit my LinkTree for the links to my favorite essential oils, herbal teas, natural recipes, YouTube ambiance videos for sleeping; a project I created to help with insomnia symptoms and the second channel, Rooted in Nature YouTube Channel both channels feature herbal recipes for wellness and home.
Thanks for coming by!

Leave a Reply