(DISCLAIMER: I am not a doctor, and you should consult your healthcare professional before starting any health regimen. Product links are commissioned and supports the blog)

Key Takeaways
- Essential oils can fit into a simple daily toenail care routine, but they do not promise a cure.
- Clean, fully dry nails and proper dilution matter more than using a large amount.
- Tea tree, oregano, clove, thyme, lavender, and lemongrass are common choices for topical blends.
- Patch testing helps you spot irritation before it becomes a bigger problem.
- If the nail is painful, thick, spreading, or not improving, a doctor or podiatrist should take a look.
Toenail fungus can hang on for months, and it rarely changes overnight. That can make care feel slow and discouraging, especially when the nail looks stubborn no matter what you try.
Essential oils may support a clean, consistent routine, but they are not a guaranteed cure. The real value often comes from daily care, safe dilution, and patience. If you want practical blends you can use at home, keep reading for five easy recipes and a simple way to use them without irritating your skin.
What to know before using essential oils on toenails
Start with a clean foot. Wash the area, then dry it well, especially around the nail edges and between the toes. Moisture feeds fungus, so a damp foot works against you before the oil even goes on.
Always dilute essential oils with a carrier oil. Straight oil can sting the skin around the nail, and strong oils can cause redness fast. Jojoba, coconut, olive, and grapeseed oil all work well because they spread the blend and soften the edge of the stronger oils.
A clean, dry nail bed gives any blend a better chance.
If you want a fuller look at skin-safe dilution, see this essential oil skin safety guide. The basics are simple, but they matter every time you mix a new bottle.
Why dilution matters more than most people think
Strong oils can feel harmless in the bottle and sharp on skin. Oregano and clove are good examples. They may seem small in a recipe, yet they can still irritate the skin around the nail if they are used undiluted.
Carrier oils do more than soften the blend. They help you spread a thin layer evenly across the nail, cuticle, and nearby skin. That gives you better coverage and less chance of burning or dryness.
How to patch test and spot irritation early
Before regular use, mix a small amount of the blend and dab it on the inner forearm. Leave it alone for 24 hours. If you see redness, itching, burning, or a rash, the blend is too strong for your skin. Stop using it and dilute more, or skip that recipe.
Avoid broken skin, raw skin, and open cracks. If the nail is thick, painful, spreading, or still changing after a few months, a doctor or podiatrist should check it.
The five easiest essential oil blends to try at home
These blends move from gentle to stronger. If you’re new to topical oils, start with the mildest recipe first. If your skin tolerates essential oils well, the deeper blends may suit you better for targeted care.
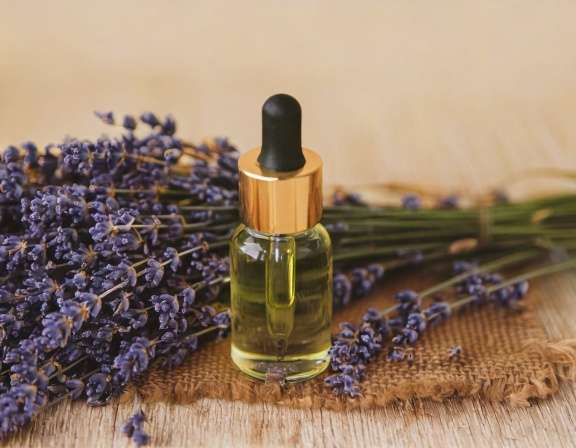
A gentle tea tree and lavender blend for everyday use
For a beginner-friendly blend, mix 1 tablespoon of jojoba oil with 3 drops of tea tree oil and 2 drops of lavender oil. Shake the bottle gently before each use. Tea tree is the main antifungal oil here, while lavender helps the blend feel softer on skin.
Apply a thin layer to the nail, the cuticle, and the skin right around the nail after washing and drying your foot. Use it once daily at first, then move to twice daily if your skin stays calm. Lavender often makes a routine easier to keep, and lavender oil for skin relief has a long history in gentle topical care.
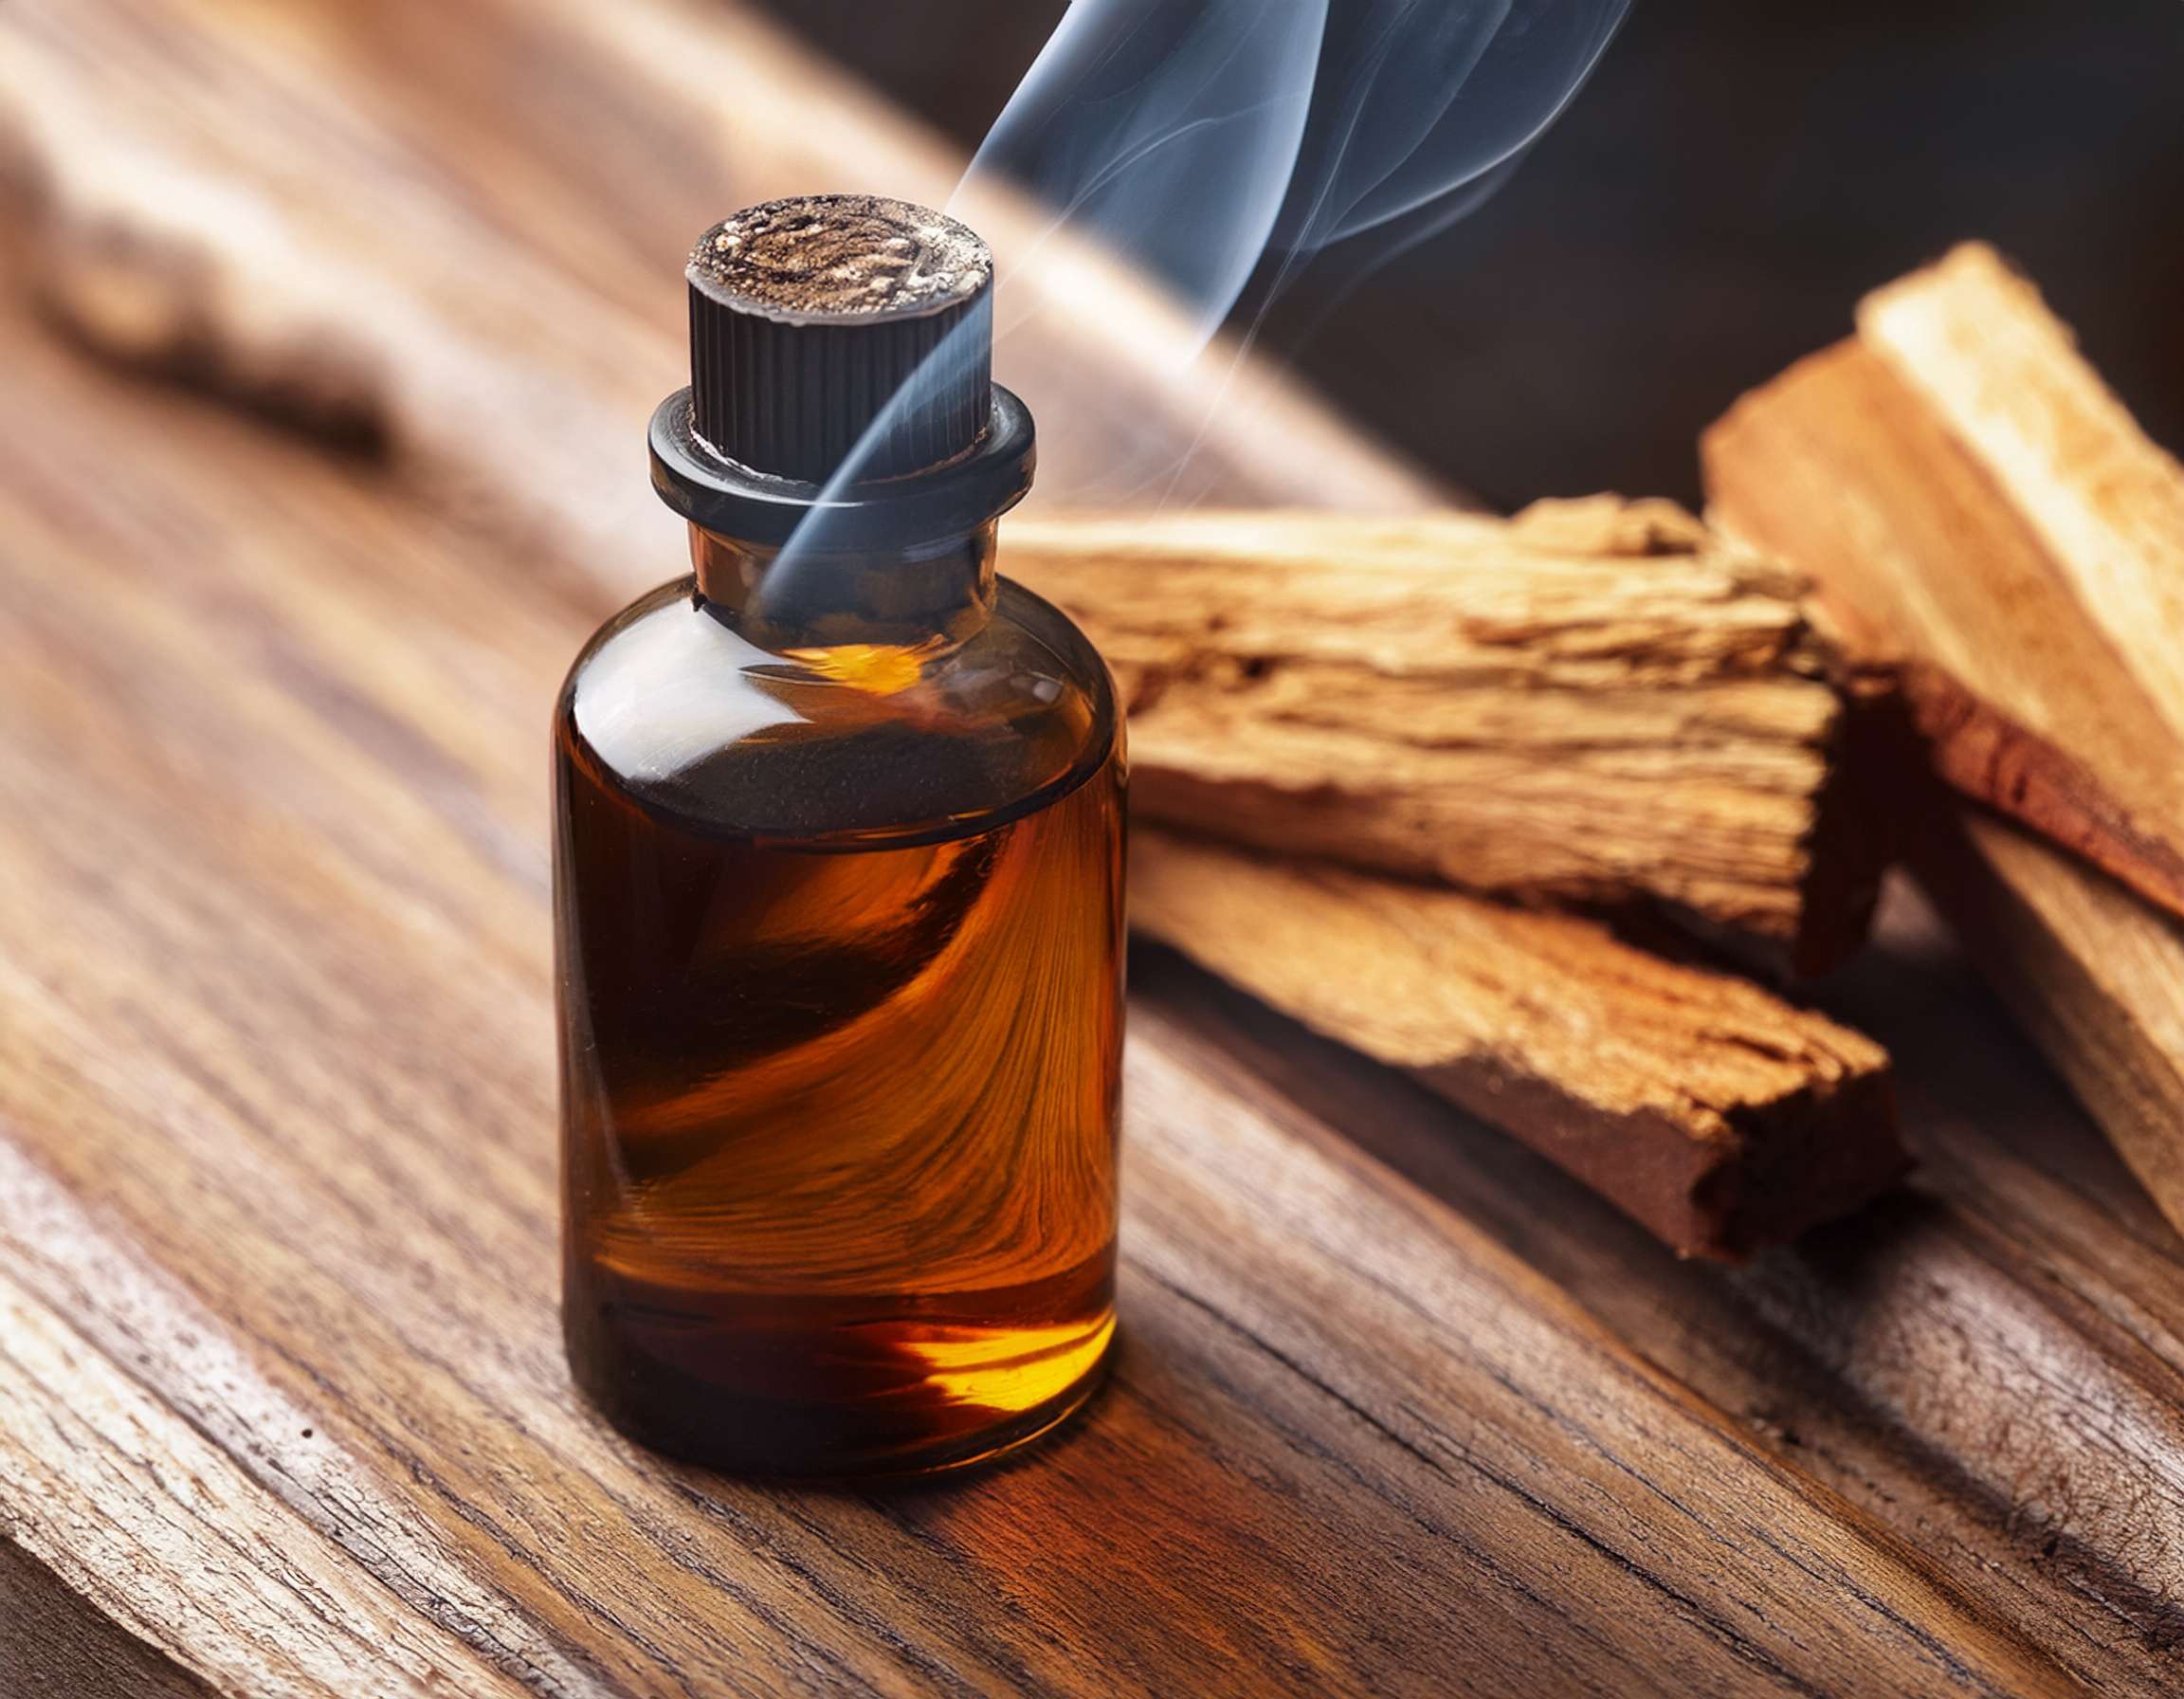
A stronger oregano and coconut oil blend for stubborn spots
Oregano oil is one of the strongest oils in this group, so keep the recipe small. Mix 2 teaspoons of coconut oil with 1 drop of oregano oil and 2 drops of tea tree oil. Coconut oil gives the blend a smoother feel and helps protect skin that gets dry fast.
Use this blend as a careful spot treatment, not as a heavy coating. A little goes a long way, so apply only a thin film over the nail and the nearby skin. Once daily is enough at the start, especially if your skin is sensitive. If it feels too hot or sharp, reduce the oregano or stop use.
A clove and jojoba blend for targeted nail care
Clove oil is strong and best used with a light carrier. Mix 2 teaspoons of jojoba oil with 1 drop of clove oil. If you want a slightly softer scent, add 1 drop of lavender, but keep the blend gentle.
This recipe works best when you use it sparingly on a small area. Dab it on the nail surface and the edge of the nail, then let it sink in. Because clove can bother sensitive skin, patch test it first and watch closely for any warming that turns into burning. If the skin reacts, cut the strength in half or move to a milder blend.
A thyme and lemongrass blend for a fresh daily routine
Mix 1 tablespoon of grapeseed oil with 1 drop of thyme oil and 2 drops of lemongrass oil. Grapeseed oil feels light on the skin, so it works well when you want a blend that doesn’t feel greasy.
Thyme is potent, so keep the amount low. Lemongrass adds a cleaner scent and gives the blend a fresher feel for daily use. Apply a small amount once a day after bathing or washing your feet. This recipe suits people who want something balanced, not harsh, and not overly heavy.
A tea tree, oregano, and lavender blend for tougher nails
This is the most rounded blend in the group, because it pairs two stronger oils with a calming one. Mix 2 teaspoons of jojoba oil with 2 drops of tea tree oil, 1 drop of oregano oil, and 2 drops of lavender oil. Stir or shake the bottle well before use.
Use this blend only if your skin handles essential oils without trouble. Apply a thin layer to the nail and the skin around it once daily, then move to twice daily only if the area stays comfortable. For readers who like to bottle blends ahead of time, the beginner guide to blending essential oils can help keep the ratios simple.
How to use the blends each day for the best chance of success
Consistency matters more than quantity. A tiny amount used every day is more useful than a big, messy application once in a while. Toenail fungus grows slowly, so your routine needs room for patience.
Start with clean feet. Wash them, dry them well, and trim the nail carefully if it’s safe to do so. Then apply a small amount of your chosen blend to the nail surface, the side edges, and the cuticle area. Keep socks clean, let shoes dry out fully, and avoid sharing nail tools or towels.
Small amounts, used often, beat big doses used once.
A simple morning and night application routine
In the morning, wash and dry your feet, then apply the blend in a thin layer. Let it absorb for a few minutes before putting on socks and shoes. At night, repeat the same steps after your last shower or foot wash.
If the nail is thick, gentle filing may help the oil reach the surface better. Use a clean file, and don’t file into sore skin. The goal is steady care, not force.
Signs the blend is helping, and when to get medical help
Early progress often looks small. The nail may stop spreading as fast, the skin around it may feel calmer, and new nail growth may look clearer at the base. Those changes can take weeks or months.
Stop home care and get medical help if the nail becomes painful, very thick, dark, or swollen. Also get checked if you have diabetes, poor circulation, or a nail that keeps getting worse. Home blends can support care, but they should not delay treatment when the infection is stubborn or severe.
Conclusion
Essential oil blends can make toenail care feel simple, tidy, and manageable. The best results usually come from daily use, safe dilution, and a clean, dry routine that you can keep up.
These five recipes give you options, from mild tea tree and lavender to stronger blends with oregano, clove, and thyme. Pick one that fits your skin, use it patiently, and pay attention to irritation. If the nail stays painful, thick, or spreads, a healthcare professional should step in.
Stay Connected for More Natural Living Inspiration
If you enjoyed this post about herbal wellness and love discovering natural ways to refresh your home and wellness, don’t miss out on future recipes and clean-living tips! Subscribe to the blog for weekly DIYs, wellness inspiration, and herbal remedies delivered straight to your inbox.
Don’t forget to visit my Amazon storefront for the links to my favorite essential oils, herbal teas, and natural recipes. I also create YouTube ambiance videos for sleeping; a project I created to help with insomnia symptoms and the second channel, Rooted in Nature YouTube Channel both channels feature herbal recipes for wellness and home. The link to all social media content is here.
Thanks for coming by!


Leave a Reply