
(DISCLAIMER: I am not a doctor, and you should consult your healthcare professional before starting any health regimen.)

Key Takeaways
- DIY shower steamers work best when they stay dry, both while curing and in storage.
- For congestion, eucalyptus and peppermint are the classic pair, but you can adjust the intensity.
- Most “mold problems” with steamers are really moisture problems, fix the airflow, drying time, and container.
- Skip dried herbs and flower petals in the steamer itself if you want a longer shelf life.
- Store steamers outside the bathroom in an airtight container with a moisture absorber.
Congestion has a way of making a normal shower feel pointless, especially with a stuffy nose that leaves your head feeling stuffed, like breathing through a straw.
That’s where DIY shower steamers can help with sinus clearing. They don’t “treat” illness, but they can make the shower air feel clearer and more comfortable, naturally easing your airways, especially when you want a simple routine that doesn’t require a bathtub or a diffuser.
What shower steamers actually do (and what they don’t)
Shower steamers are like bath bombs that you don’t soak in. They fizz on the shower floor, releasing essential oils into the warm, steamy air.
They can feel amazing when you’re dealing with sinus congestion because the aroma from the essential oils rises fast and hits you right where you need it. If you want a deeper look at oils people commonly use for this, see Natural Sinus Relief with Eucalyptus Essential Oil.
A quick reality check:
- They won’t cure a cold or act as a decongestant.
- They can make breathing feel easier and help you relax when you’re uncomfortable.
- If you have asthma, fragrance sensitivity, or you’re making these for kids, go lighter on the oils and check with a clinician first.
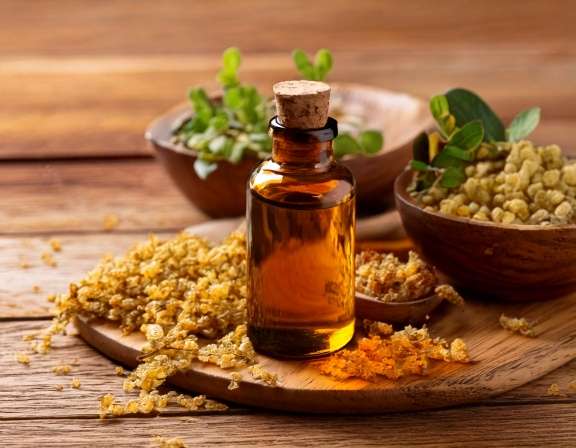
Ingredients and supplies for DIY shower steamers (simple, not fussy)
You don’t need a huge shopping list, but the basics matter.
Core dry ingredients
- Baking soda (the main base)
- Citric acid (the fizz)
- Cornstarch or kaolin clay (helps slow the fizz and hold shape)
Liquid binder
- Witch hazel or high-proof isopropyl alcohol (helps bind without starting the fizz too early)
Tools
- Mixing bowl
- Spray bottle or fine-mist sprayer
- Gloves (optional but nice when using citric acid)
- Silicone mold or muffin tin
- Airtight container for curing and storage
If you’re new to this and want extra visuals and troubleshooting tips, this step-by-step DIY shower steamers guide is helpful for seeing texture and mold options.
The base recipe that makes sturdy shower steamers (no crumbling)
This is the “works in most kitchens” formula. It makes about 6 to 8 medium steamers, depending on your mold.
Dry mix
- 1 cup baking soda
- 1/2 cup citric acid
- 2 tablespoons cornstarch (or 2 tablespoons kaolin clay)
- 1 tablespoon Epsom salt (optional, for better texture)
Essential oils
- 40 to 60 total drops per batch (start at 40 if you like gentler)
Liquid
- Witch hazel or isopropyl alcohol in a spray bottle (you’ll mist, not pour)
How to make them
- In a mixing bowl, mix baking soda, citric acid, and cornstarch until uniform.
- Add essential oils (40 to 60 total drops) and stir well. Break up any clumps with the back of a spoon to fully incorporate the essential oils.
- Mist your witch hazel 2 to 4 sprays at a time, stirring between rounds.
- Stop when the texture feels like damp sand. It should hold shape when squeezed, not crumble, and not trigger fizzing action if the mixture gets too wet.
- Pack firmly into silicone molds.
- Let them dry 12 to 24 hours, then unmold and cure another 24 to 48 hours in a dry spot.
That damp-sand stage is the whole trick. Too dry and they crack, too wet and they puff up in the bowl.
DIY shower steamer recipes for congestion (3 essential oil blends that smell clean, not sugary)
Classic congestion blend: eucalyptus + peppermint
This aromatherapy blend of eucalyptus and peppermint feels like opening a window in your face, in a good way.
- 25 drops eucalyptus (often Eucalyptus globulus)
- 15 drops peppermint
- Optional: 5 drops lavender (softens the sharp edges)
If you want to build a fuller “clear head” routine, pair your shower with a simple diffuser recipe like this Essential Oil Recipe for Congestion Relief.
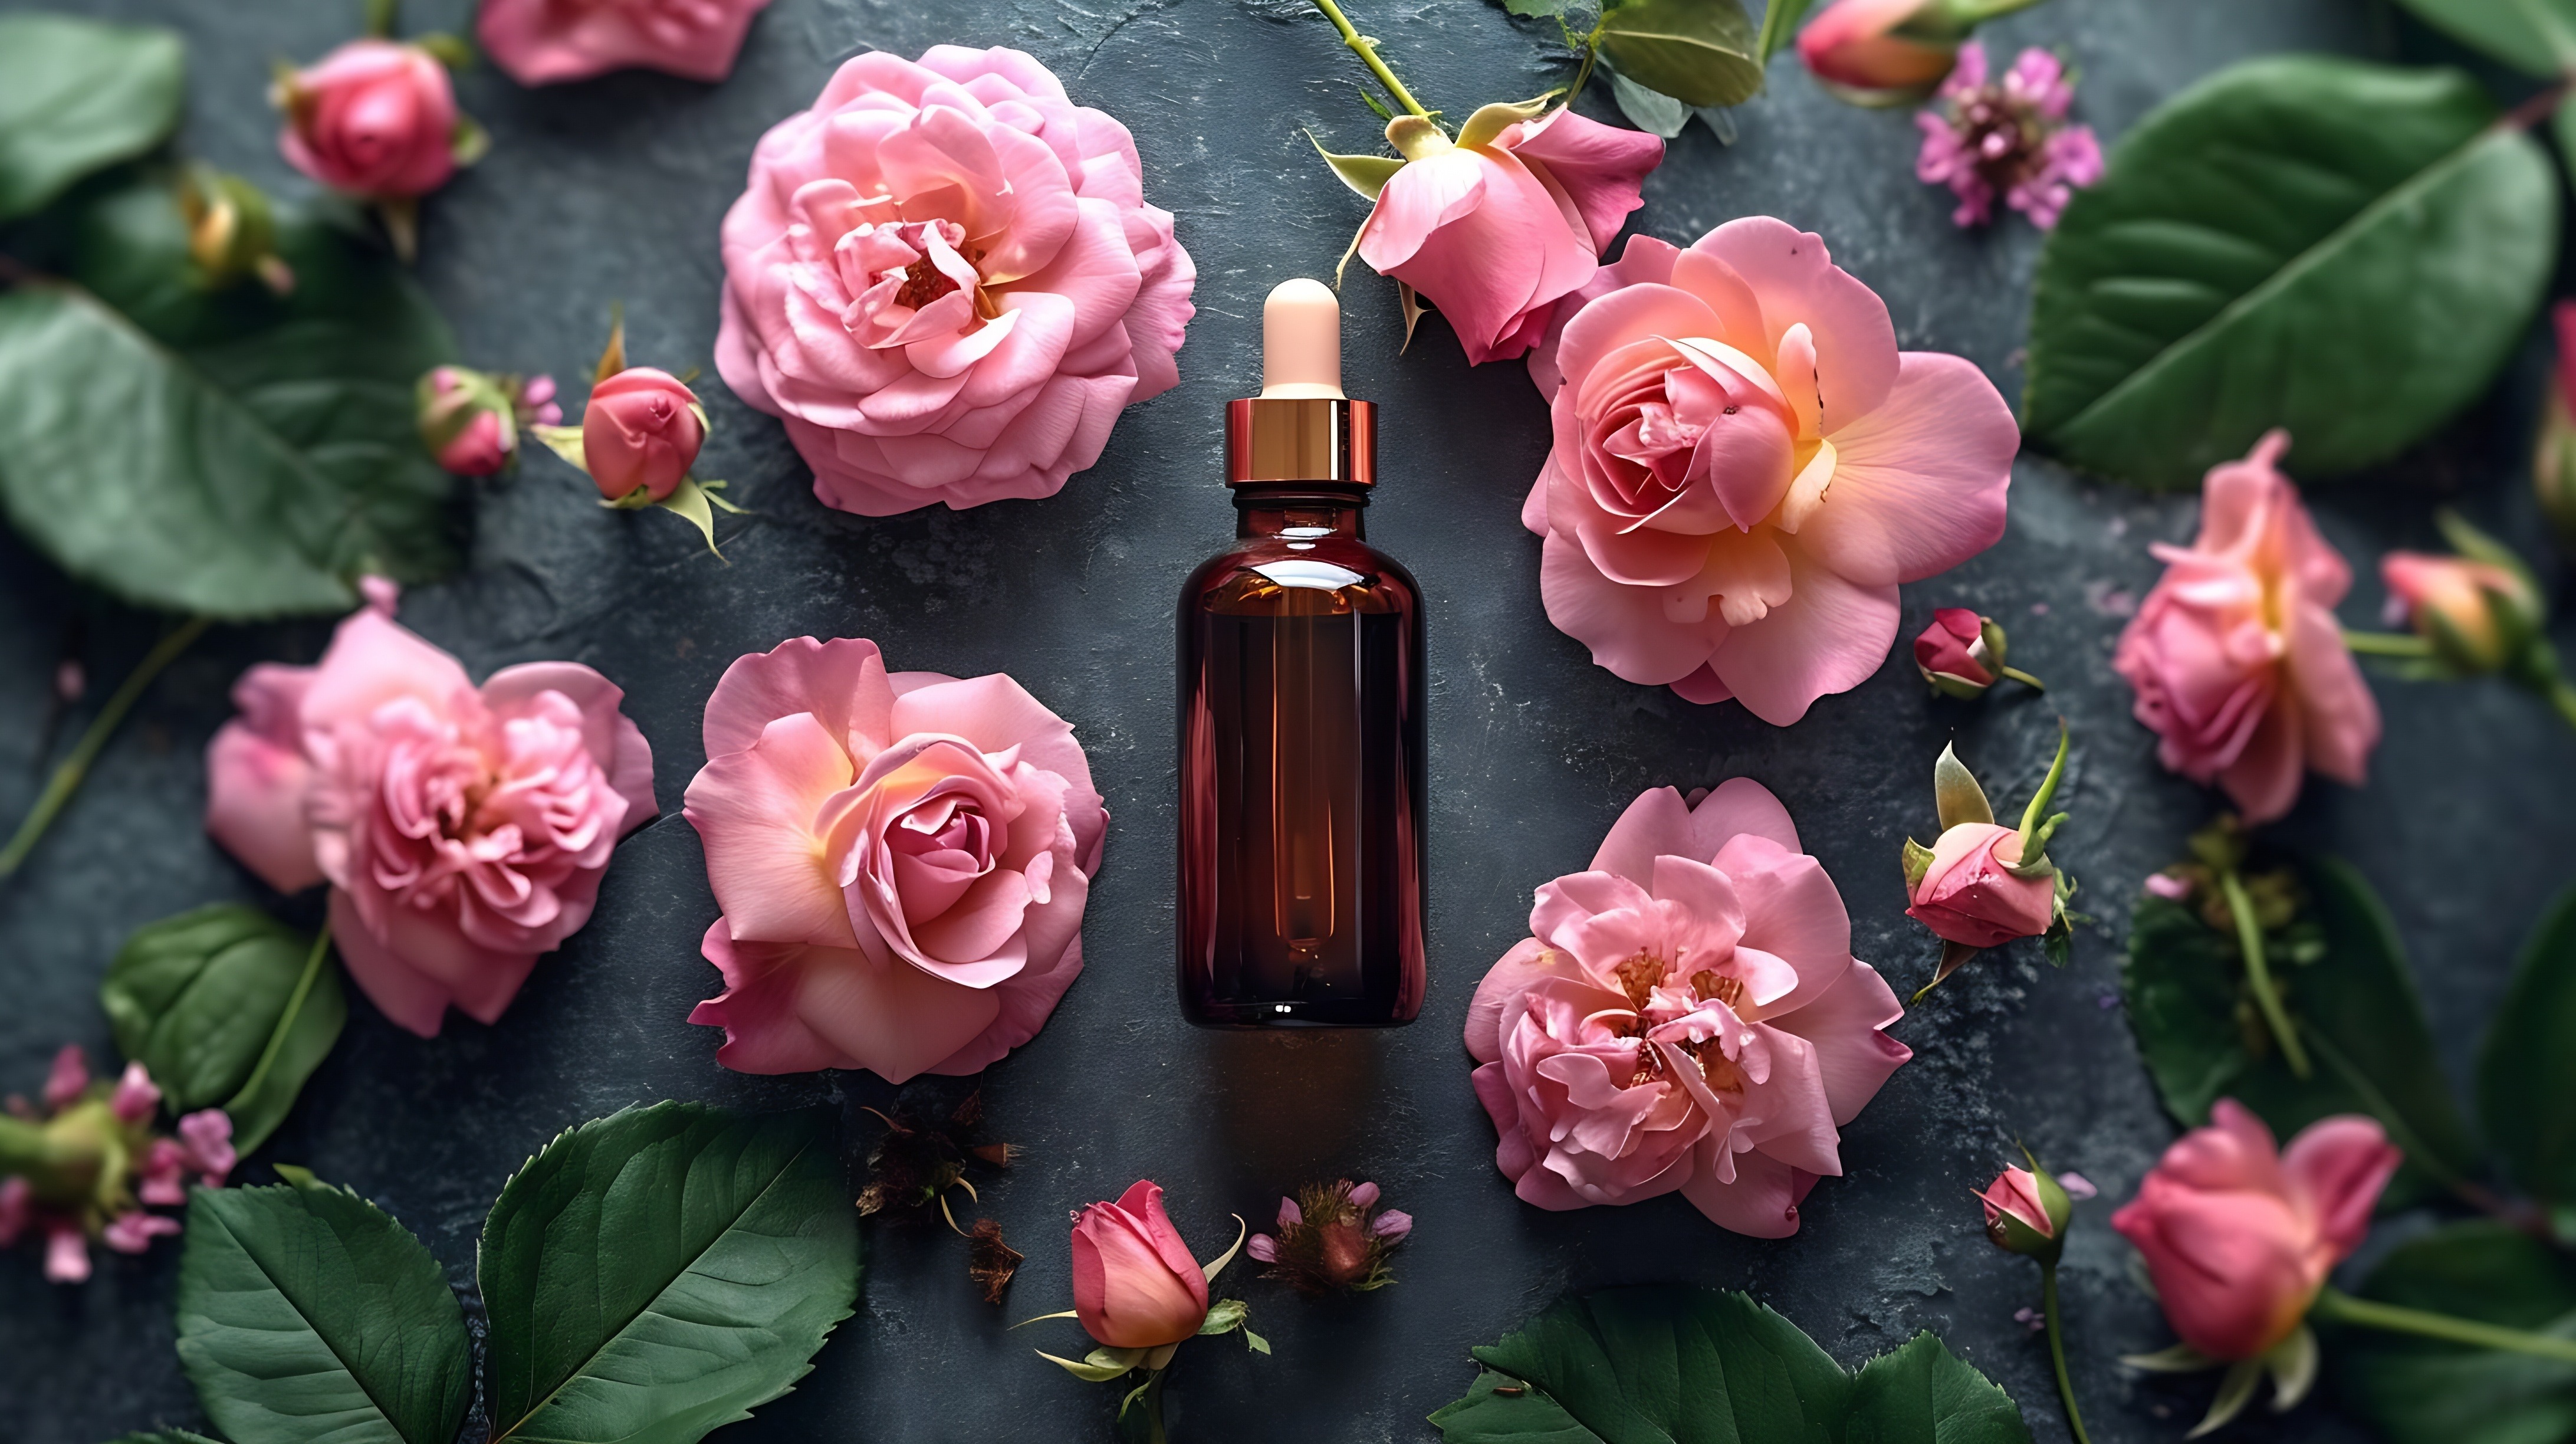
Gentler “night shower” blend: lavender + rosemary
For when you’re stuffy but also want to calm down with lavender, not get blasted awake.
- 25 drops lavender
- 10 drops rosemary
- 5 to 10 drops eucalyptus (optional, keep it light)
This blend is a nice choice if peppermint feels too intense.
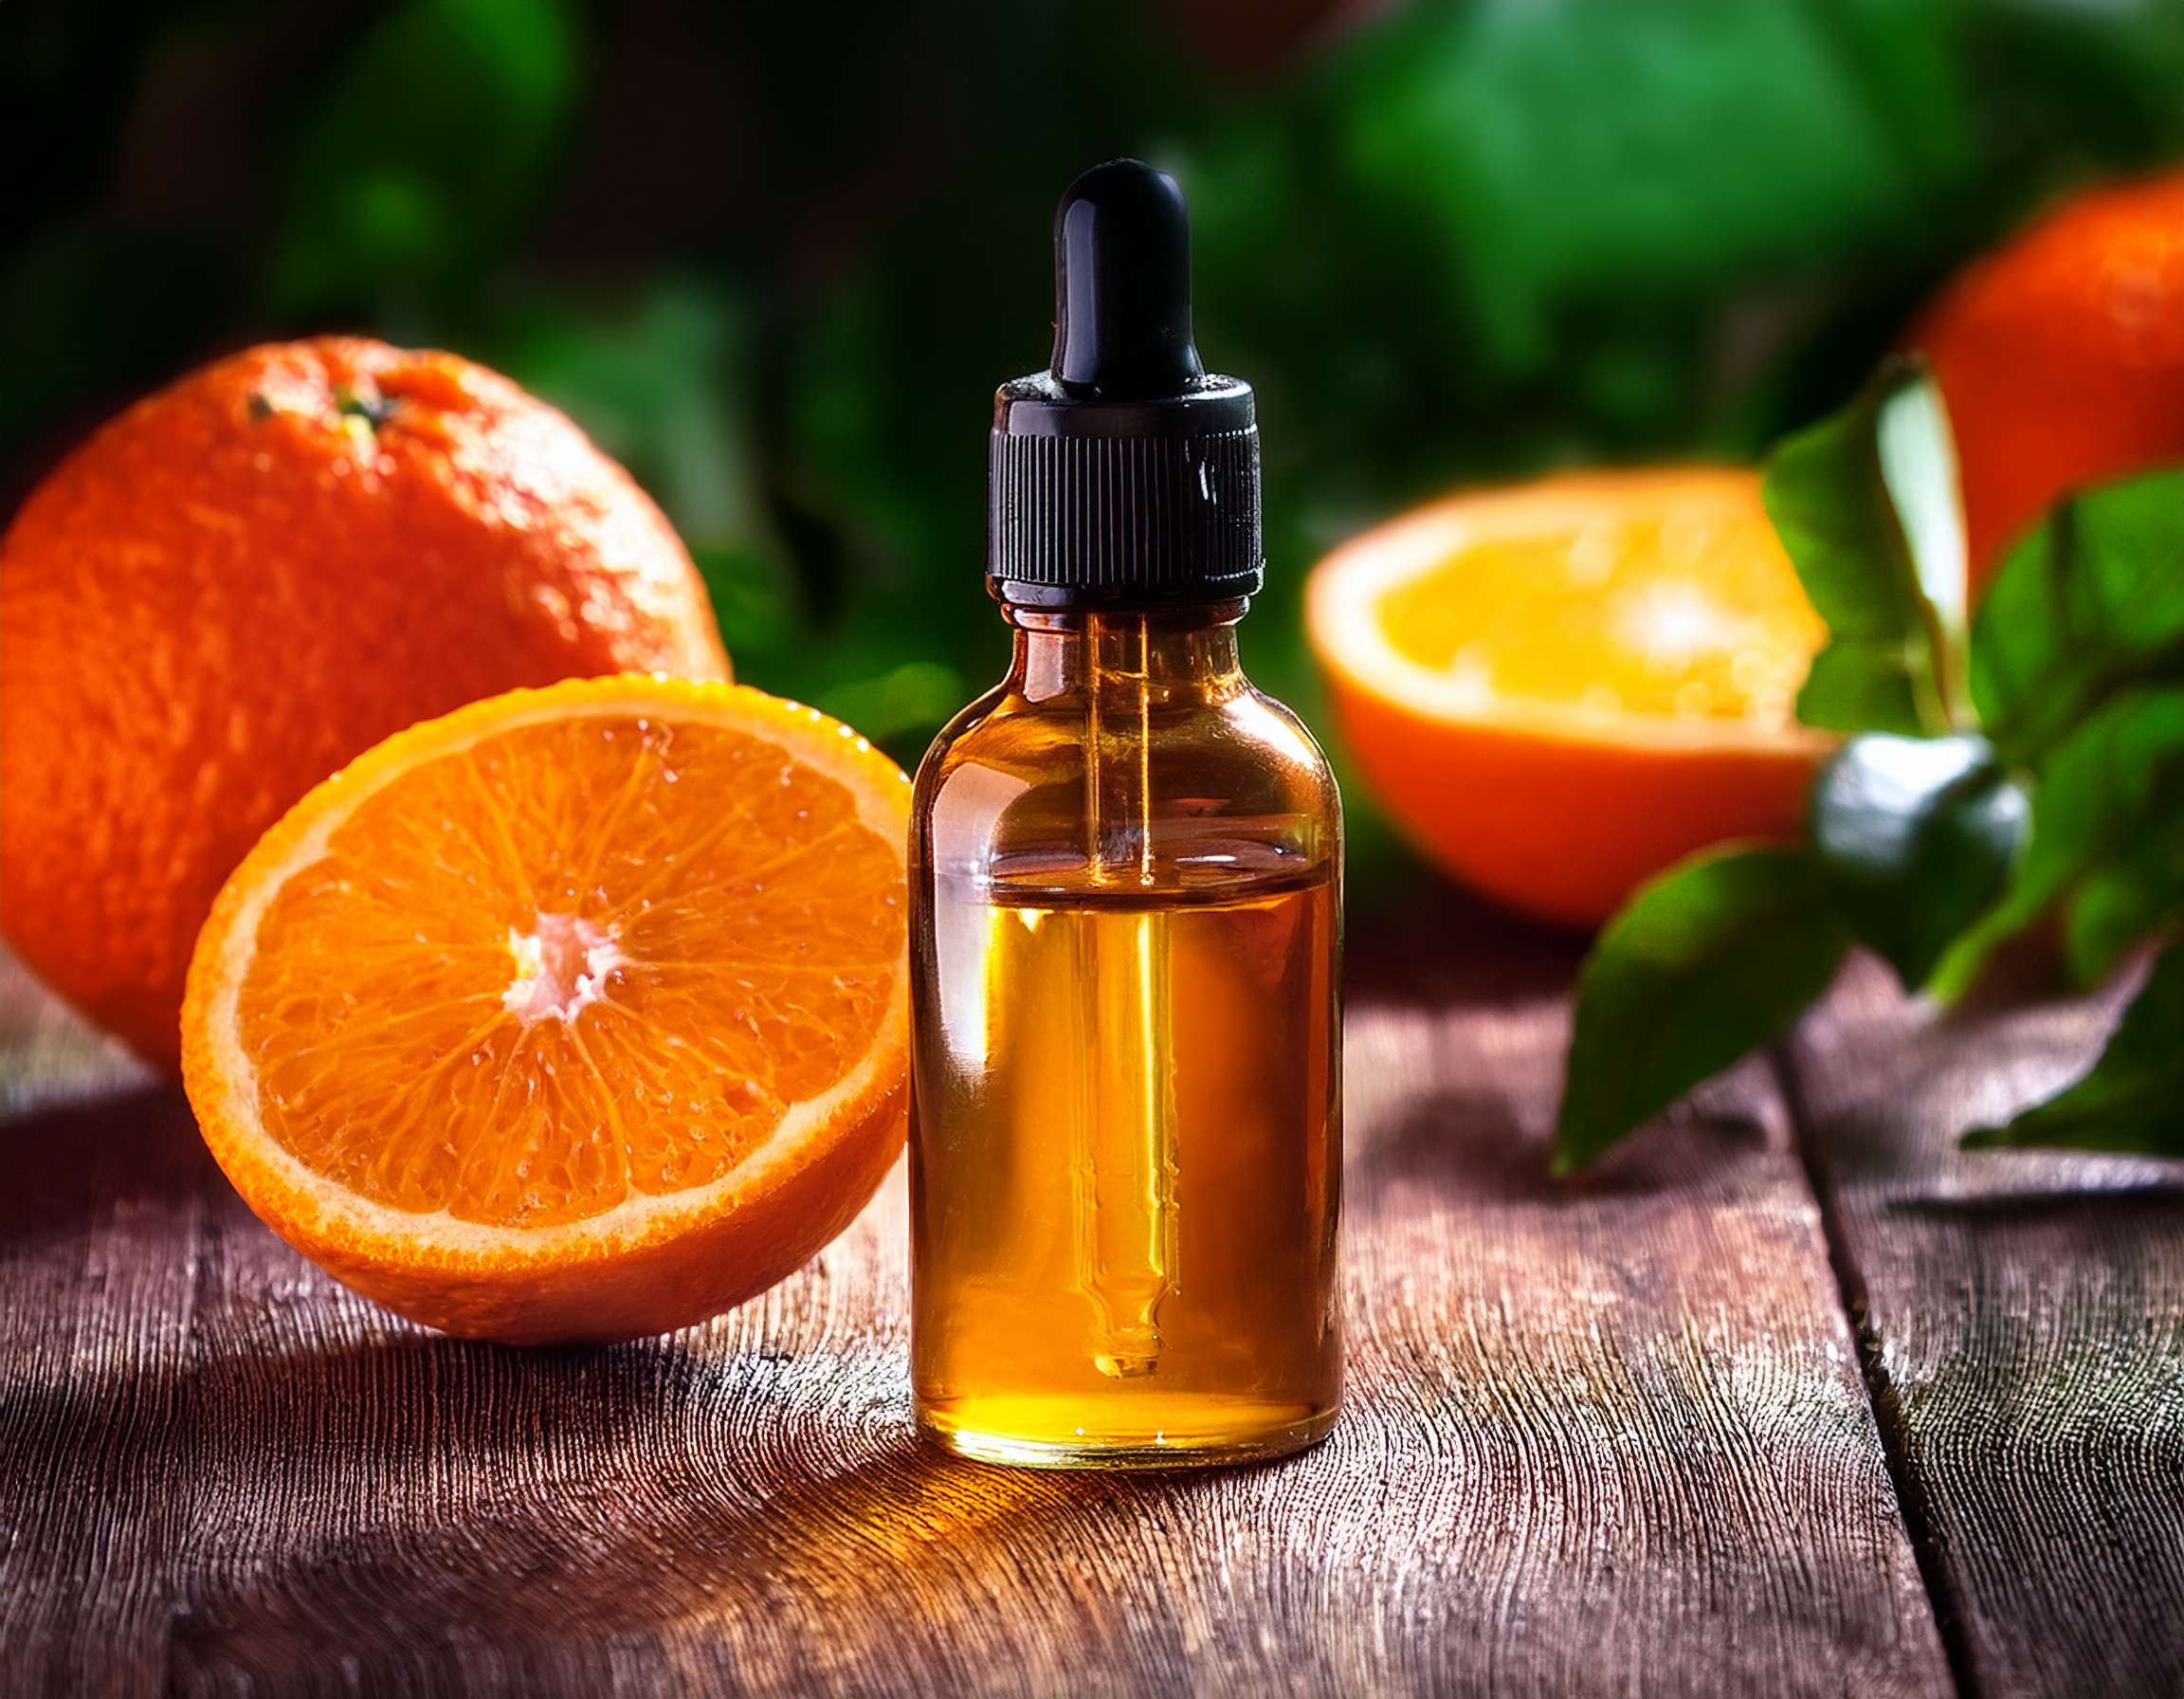
Bathroom reset blend: tea tree + lemon (fresh, not candy-like)
This one is less “cold relief,” more “clean air,” and it can be great after a sweaty workout shower too.
- 20 drops tea tree
- 20 drops lemon
- Optional: 10 drops eucalyptus
Tea tree and lemon are also popular in natural cleaning routines. If you want more ideas for keeping the shower area less funky overall, this list of Antibacterial Essential Oils for Natural Cleaning has practical options.
How to use shower steamers so they last longer in the shower
Most people accidentally waste them by putting them right under the water stream.
- Place the steamer on the shower floor off to the side, where it gets splashed but not blasted (while these steamers use high oil concentrations, be careful not to add excess carrier oils that might make the floor slippery).
- Aim for near the drain if your shower floor stays flooded.
- Take slower breaths at first. Strong oils can feel intense in a small shower.
If you’re sharing a bathroom, one shower bomb per shower is usually plenty. Two can be overpowering fast.
Mold prevention: keep the steamers dry, and keep the shower smarter
Let’s be honest, bathrooms are basically humid caves. Mold loves them. The good news is that shower steamers don’t have to become a moldy science project.
Prevent mold while making and curing
Dry air is your best friend.
- Cure steamers at room temperature in a room with airflow, not on the bathroom counter.
- Don’t cover them tightly while they’re still curing. Trapped moisture slows drying.
- Avoid adding Botanicals (dried lavender buds, citrus peel). They look cute, but they can hold moisture and shorten shelf life.
If your home is humid, cure them near a dehumidifier or in a closet with a moisture absorber.
Prevent mold in the shower itself
Even if the steamer is fine, the shower can still grow mildew that ruins the vibe.
- Run the bathroom fan for 20 to 30 minutes after showers.
- Squeegee the walls if you already know your bathroom gets mildew fast.
- Don’t store steamers in the shower, even in a “sealed” jar. The jar sweats inside.
For more background and recipe variations that include menthol crystals (a common addition for that strong “Vicks-like” feel), this guide on aromatherapy shower melts for cold and flu explains common approaches and safety notes.
How to store DIY shower steamers (and how long they last)
If you store them well, they’ll stay strong for weeks.
Best storage setup
- Airtight container such as a glass jar or metal tin with a tight lid
- Keep it outside the bathroom
- Add a silica gel pack or a small moisture absorber (optional but worth it)
Shelf life
- For best scent: 4 to 8 weeks
- Shower bombs can last longer, but the smell usually fades before they “go bad”
A quick test: if a steamer feels soft, chalky, or slightly damp, let it air out for a day before sealing it back up.
Conclusion
A good batch of DIY shower steamers for congestion should smell strong, hold together, and stay dry from start to finish. Keep your recipe simple, choose oils that match your comfort level, and treat storage like part of the project, not an afterthought. Once you get the moisture piece right, the rest becomes easy. Next time congestion hits, you’ll be glad you’ve got a jar ready.
Stay Connected for More Natural Living Inspiration
If you enjoyed this post about herbal wellness and love discovering natural ways to refresh your home and wellness, don’t miss out on future recipes and clean-living tips! Subscribe to the blog for weekly DIYs, wellness inspiration, and herbal remedies delivered straight to your inbox.
Don’t forget to visit my LinkTree for the links to my favorite essential oils, herbal teas, natural recipes, YouTube ambiance videos for sleeping; a project I created to help with insomnia symptoms and the second channel, Rooted in Nature YouTube Channel both channels feature herbal recipes for wellness and home.
Thanks for coming by!
Leave a Reply