
(DISCLAIMER: I am not a doctor, and you should consult your healthcare professional before starting any health regimen. Product links are commissioned and supports the blog)

Key Takeaways:
- Peppermint oil can support a fresher-feeling scalp and help hair look less flat at the roots.
- Most “results” come from better scalp care habits (massage, wash routine, consistency), not a miracle ingredient.
- Peppermint oil isn’t a guaranteed hair growth cure, but it may support the look of healthier, fuller hair over time.
- Dilution matters, start low, and increase only if your scalp tolerates it.
- Always dilute before use, patch test first, and keep it away from eyes.
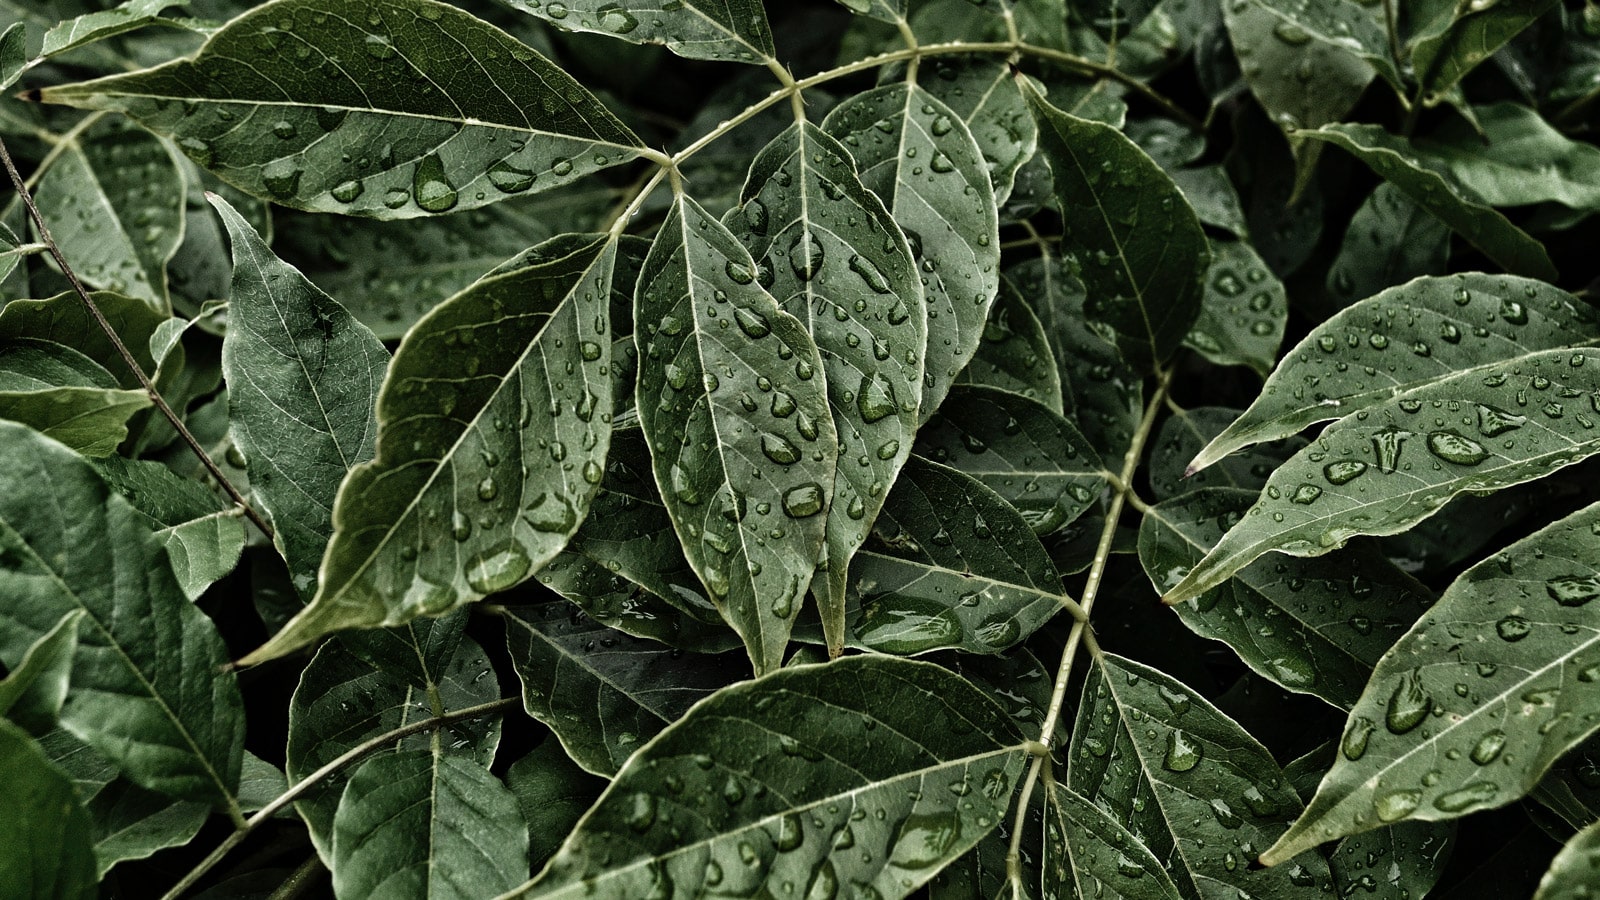
That cool, minty tingle on your scalp can feel like opening a window in a stuffy room. That’s the appeal of peppermint essential oil for hair. It feels clean, fresh, and awake, which is exactly what many of us want when our roots feel flat or our scalp feels cranky.
If you’re curious about peppermint oil for hair growth, think of it like a helpful teammate, not the whole team. Used the right way, it can fit into a simple routine that supports scalp comfort and makes your hair feel lighter and bouncier.
Peppermint oil benefits for hair and scalp, explained in plain terms
Peppermint essential oil is best known for one thing: that unmistakable cooling sensation. The main compound behind it is menthol, which can make your scalp feel refreshed fast. For many people, that “fresh scalp” feeling is the real win, because when the scalp feels better, hair care gets easier to stick with.
Here’s what peppermint oil may help with in real life, without the hype:
- Scalp comfort: The cooling feel can take the edge off itch and tightness, especially when your scalp feels dry or irritated from product buildup.
- A cleaner feel between washes: Peppermint’s strong scent and tingle can make your scalp feel less “oily” (even if it doesn’t change oil production).
- A routine that supports fullness: When people use peppermint oil, they often massage their scalp more. Massage can support circulation and help you notice buildup earlier.
- The look of healthier roots: A clean scalp and better rinse habits can make hair look less weighed down.
Some research on peppermint and menthol suggests it may support circulation in the skin when used topically. That’s part of why peppermint oil shows up so often in “hair growth” talk. Still, hair growth is complex. Hormones, stress, genetics, iron levels, and scalp conditions can matter more than any oil.
If you want a bigger picture of how peppermint fits into a hair routine with other oils, this guide on natural scalp stimulation with essential oils lays out common options and realistic expectations.
A cleaner, calmer-feeling scalp
A scalp can feel “stuffy” for lots of reasons: sweat, dry shampoo, heavy styling creams, not rinsing well, or seasonal dryness. Peppermint oil doesn’t magically fix all of that, but the cooling sensation can make your scalp feel calmer and less itchy.
It also encourages a better “check-in” habit. When you’re massaging in a diluted oil blend, you’re more likely to notice flakes, tender spots, or areas that always feel tight. That awareness helps you adjust your routine, maybe you clarify more often, switch to a gentler shampoo, or stop piling on products at the roots.
One important line in the sand: peppermint oil does not treat medical scalp conditions like psoriasis, fungal infections, or seborrheic dermatitis. If you have thick scaling, sores, oozing, sudden shedding, or intense itch that doesn’t calm down, it’s time for a dermatologist. Essential oils can irritate already inflamed skin, even when diluted.
Why the cooling tingle can make hair look and feel better
The tingle is the hook, but the habits are the payoff.
When peppermint oil is part of your routine, you usually do at least one of these things more consistently:
You massage your scalp for a full few minutes, instead of rubbing shampoo in for ten seconds and rushing. You rinse longer because you don’t want any residue left behind. You wash your hands after applying oils, so you’re less likely to smear product onto your hairline later. Small stuff, but it adds up.
That routine can help with “root lift” in a simple way: less buildup at the scalp means hair doesn’t stick to the head as much. If your roots tend to fall flat, a clean scalp plus a little peppermint in a pre-shampoo oil can make hair feel lighter.
Also, the scent matters. Peppermint smells sharp and clean, which can make your hair feel freshly washed even before you actually wash it. That can be surprisingly motivating on low-energy days.
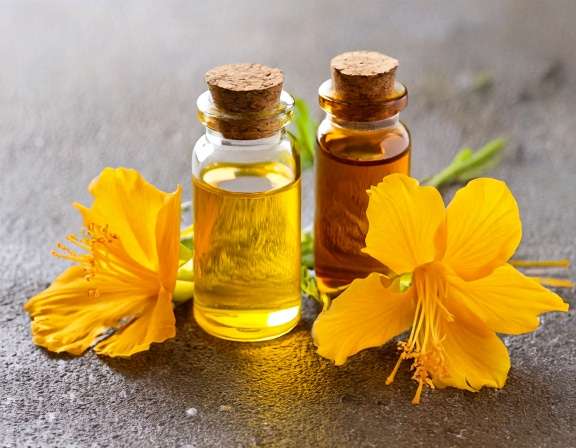
How to use peppermint essential oil on hair without irritation
Peppermint essential oil is potent. The goal is a mild, pleasant cool feeling, not a burning scalp and watery eyes. If you do this right, peppermint becomes easy to use, even for beginners.
Before anything else, pick a carrier oil you actually like. If it’s too greasy, you’ll avoid using it. If it feels good, you’ll stick with it. For a quick primer on options, texture, and safety basics, this is a helpful read on choosing carrier oils for DIY hair blends.
A few practical notes that save a lot of trouble:
- Apply peppermint oil blends to the scalp, not the lengths, unless you’re doing a full oil mask.
- Keep it away from your hairline if you sweat a lot, because sweat can carry it into your eyes.
- If you color your hair or have a dry, fragile texture, focus on scalp-only use and keep timing short.
Dilution basics that keep your scalp safe
For most people, a low dilution gives plenty of benefits. Start small and pay attention to your skin.
Beginner-friendly dilution guide
- Leave-on scalp use (like a light scalp oil): start around 0.5 to 1 percent.
- Rinse-off use (like in shampoo, or a pre-shampoo treatment you wash out): you can go up to about 2 percent, only if you tolerate it.
Drops rule of thumb (droppers vary)
- 1 teaspoon (5 ml) carrier oil
- 1 percent: about 1 drop Peppermint Essential Oil
- 2 percent: about 2 drops
- 1 tablespoon (15 ml) carrier oil
- 1 percent: about 3 drops
- 2 percent: about 6 drops
If you’re sensitive, stay closer to the low end. Peppermint can feel “too strong” even at normal dilutions, especially on a freshly washed scalp.
A few safety basics that are non-negotiable:
- Never apply peppermint oil neat (straight from the bottle).
- Keep it away from eyes and eyelids.
- Wash your hands after applying, then avoid touching your face.
- Patch test (inner arm or behind ear) and wait about 24 hours to check for a reaction.
3 easy ways to add peppermint oil to your routine
Peppermint doesn’t need complicated recipes. Pick one method and stick with it for a few weeks, instead of doing everything at once.
1) Pre-shampoo scalp oil (simple and reliable)
This is my favorite because it’s controlled, and you wash it out.
Steps:
- Add your carrier oil to your palm or a small bowl (start with 1 tablespoon).
- Mix in peppermint oil using a low dilution (try 3 drops per tablespoon for about 1 percent).
- Part your hair and apply to the scalp in small sections.
- Massage for 2 to 5 minutes with your fingertips (gentle pressure, no scratching).
- Leave it on 10 to 30 minutes.
- Shampoo. If your hair feels coated, shampoo twice and rinse well.
How often: 1 to 2 times a week.
2) Mix into shampoo or conditioner per use (fast, low effort)
This works well if you want that fresh feeling without a full oil session.
Steps:
- Put shampoo in your palm first.
- Add 1 to 2 drops peppermint oil.
- Lather in your hands, then apply to scalp only.
- Let it sit for about 30 to 60 seconds, then rinse well.
A key tip: don’t add peppermint oil to the whole bottle if you share products, or if kids use that shampoo. It also keeps you from accidentally making the mix too strong.
How often: 1 to 3 times a week, depending on how your scalp feels.
3) Scalp spray (light mist for root refresh)
Water and oil don’t mix well on their own, so you need a proper base that helps disperse the oil, either a solubilizer made for essential oils, or a pre-made aromatherapy spray base.
Steps:
- Use a small spray bottle.
- Add your spray base, then add peppermint oil at a very low dilution.
- Shake well each time.
- Lightly mist the scalp (aim for “barely damp”).
- Let it dry before putting on hats or headbands.
Keep the mist away from your hairline, so it doesn’t drip into your eyes.
How often: 1 to 3 times a week.
Signs to stop right away
- Burning that lasts more than a minute or two
- Redness, hives, or swelling
- Headache or nausea from the scent
- Dry, tight patches that get worse with use
Who should skip peppermint oil, plus smart pairing ideas
Peppermint oil is popular, but it isn’t for everyone. The same strong “clean” feeling that fans love can be too intense for reactive skin, sensitive noses, or certain households.
If you’ve tried peppermint products before and your skin hated them, trust that signal. There are other essential oils and scalp habits that can get you similar results without the sting.
Safety checklist: sensitive skin, pregnancy, kids, and pets
Use this quick list as a reality check before you start.
- Patch test every new blend, even if you’ve used peppermint in a diffuser before.
- Avoid peppermint oil on broken skin, fresh scratches, or raw spots from itching.
- Keep away from eyes, lips, nostrils, and other mucous areas.
- Stop if burning lasts, or if your scalp stays red after rinsing.
- Use extra caution if you’re pregnant or breastfeeding, check with a clinician who knows your history.
- Be careful with children, many essential oils are not kid-safe on skin, and the scalp can be extra reactive.
- Consider your pets, especially cats. Spills and diffusion can be risky in small spaces.
- If you’re eczema-prone, peppermint may feel too strong, even diluted.
If lice prevention is part of your reason for using peppermint on hair, it helps to stick to kid-safe guidance and careful application. This post on peppermint oil for lice prevention is a useful reference for family households.
Pairing peppermint with other hair-friendly oils and habits
Peppermint plays well with other essential oils, mostly because it cuts through heavy scents and adds that fresh “just washed” vibe. Keep pairings simple, and keep your total essential oil amount within safe dilution.
A few easy combos and why people like them:
- Peppermint + rosemary: a popular scalp routine pairing for anyone focused on the look of thicker hair.
- Peppermint + lavender: softer scent, good for nighttime routines when you still want a clean feel.
- Peppermint + tea tree: helpful for occasional scalp buildup, still dilute carefully because tea tree can also irritate.
- Peppermint + cedarwood: earthy, less “sweet,” and it balances peppermint’s sharpness.
Non-oil habits matter just as much:
- Gentle scalp massage for 2 minutes during washing (think “polish,” not “scratch”).
- Don’t sleep with wet hair if your scalp tends to feel itchy or funky.
- Keep styling buildup low at the roots, and clarify now and then if you use lots of dry shampoo or waxy products.
Conclusion
Peppermint essential oil benefits for hair are mostly about the scalp: a cooler, cleaner feel, less “stuffy” tightness, and hair that looks a bit more lifted at the roots when buildup is under control. It might support a healthier-looking routine over time, but it’s not a guaranteed growth fix.
If you try it, stick to the basics: dilute, patch test, and avoid eyes every single time. A simple starter routine is once a week with a pre-shampoo scalp oil, or just 2 drops mixed into shampoo in your palm.
Take a photo every 4 weeks in the same light, so you can track changes like less itch or better root lift. What’s your hair type, and which method are you going to try first with peppermint oil? Share in the comments.
Stay Connected for More Natural Living Inspiration
If you enjoyed this post about herbal wellness and love discovering natural ways to refresh your home and wellness, don’t miss out on future recipes and clean-living tips! Subscribe to the blog for weekly DIYs, wellness inspiration, and herbal remedies delivered straight to your inbox.
Don’t forget to visit my LinkTree for the links to my favorite essential oils, herbal teas, natural recipes, YouTube ambiance videos for sleeping; a project I created to help with insomnia symptoms and the second channel, Rooted in Nature YouTube Channel both channels feature herbal recipes for wellness and home.
Thanks for coming by!


Leave a Reply