(DISCLAIMER: I am not a doctor, and you should consult your healthcare professional before starting any health regimen.)

Key takeaways
- Chervil likes cool weather, so spring and fall sowing usually work best.
- It grows well in pots or garden beds as long as the soil stays moist.
- Give it partial shade to slow bolting and keep the leaves tender.
- Sow seeds directly where they’ll grow, since chervil dislikes transplanting.
- Start harvesting early, because the young leaves taste best and keep the plant producing.
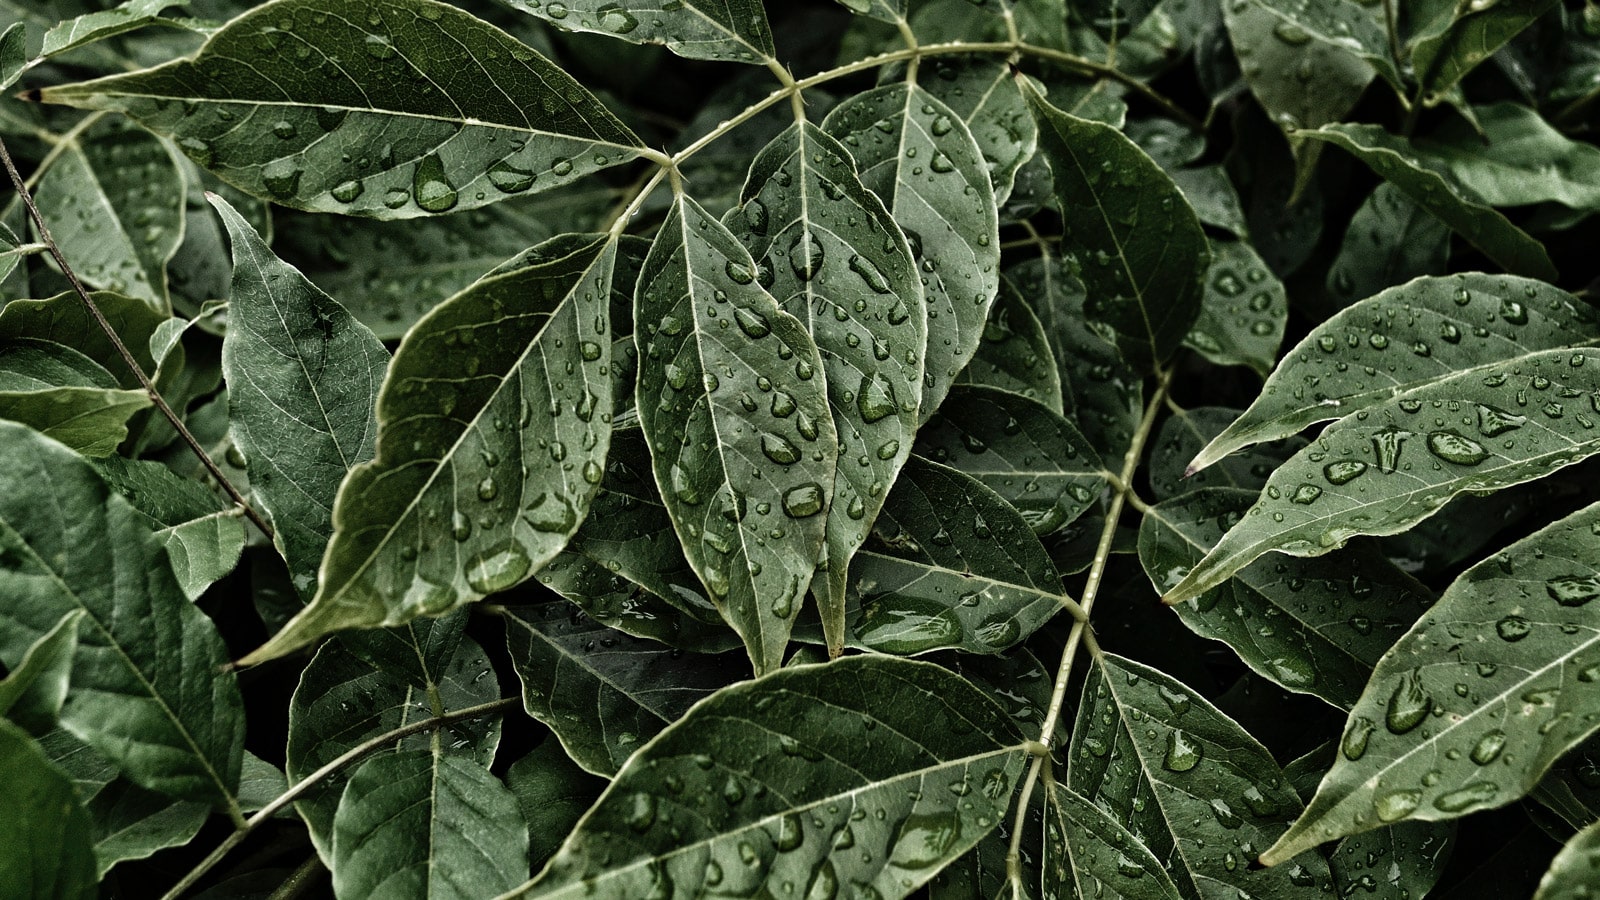
Chervil is a delicate herb with a light, parsley-like flavor that feels right at home in soups, salads, and herbal tea blends. It’s also one of the easier herbs to grow once you give it the cool air, steady moisture, and soft shade it prefers.
If your garden spots heat up fast or your pots dry out between waterings, chervil can still do well with a few simple habits. This guide keeps things beginner-friendly, with clear steps for growing it in containers, beds, and cool-season conditions.
Key takeaways for growing chervil successfully
Chervil grows best when you treat it like a cool-weather guest, not a heat-loving summer herb. Give it soft light, steady moisture, and rich soil, then harvest early so the leaves stay tender and the flavor stays fresh.
Pick a cool, shaded spot
Chervil likes partial shade and mild temperatures. Too much sun pushes it to bolt, which means it flowers fast and loses that delicate flavor.
A spot that gets morning light and afternoon shade works well. In hotter areas, a bed near taller plants or a bright porch corner can give chervil the shelter it needs.
Keep the soil moist and loose
This herb dislikes dry spells. Water often enough to keep the soil evenly damp, especially while seeds are sprouting.
Rich, well-drained soil gives the best results. If you grow chervil in pots, use a deep container with compost mixed into the potting soil so roots have room and moisture stays steady.
Sow seeds shallow and thin
Chervil seed needs light to sprout, so cover it with only a thin layer of soil. Sow directly where you want it to grow, since transplanting often disturbs the roots.
Keep the seedbed lightly moist until seedlings appear. After that, thin the plants so air moves through the patch and each plant has space to grow.
Harvest young leaves for the best flavor
The youngest leaves taste the sweetest and most aromatic. Start picking early, then harvest often so the plant keeps producing new growth.
For the cleanest flavor, snip leaves before flowers appear. If the plant starts to bolt, cut what you can use right away and reseed another round.
Use chervil soon after picking
Fresh chervil loses its fragrance fast, so use it quickly in the kitchen. It shines in soft dishes where its gentle flavor can stand out.
Try it in:
- Spring soups for a light herbal finish
- Egg dishes like omelets or scrambled eggs
- Simple salad dressings with lemon and olive oil
- Herbal tea blends when you want a mild, green note
A simple tea blend is easy to make. Steep a few fresh chervil leaves with mint or lemon balm for 5 to 7 minutes, then strain and sip warm.
Chervil rewards steady care, not heavy feeding or constant fuss. Keep it cool, moist, and lightly shaded, and it will give you soft, flavorful leaves when you need them most.
What chervil needs before you plant a single seed
Chervil grows best when you give it the right setting before sowing. That means cool weather, soft light, and soil that holds moisture without turning heavy and wet.
If you set up the space first, the plants settle in faster. The leaves stay tender longer, and the flavor stays sweet instead of sharp.
How cool weather shapes chervil growth
Chervil is a cool-season herb, so spring and fall are the easiest times to grow it. In those seasons, the weather feels gentle, the soil stays workable, and the plant can focus on leaf growth instead of survival.
Heat changes the picture fast. Once temperatures climb, chervil starts to bolt, which means it sends up flowers sooner than you want. The stems get taller, the leaves turn thinner, and the flavor loses its clean, mild taste.
Warm days can cut the harvest short, even when the plant still looks healthy.
That is why timing matters so much. A patch of chervil in mild weather looks full and soft, almost like a green cushion. In hot weather, it can seem to rush upward overnight, leaving you with a much smaller window for picking.
For the best results, sow when nights are still cool and steady. If summer heat arrives early where you live, aim for spring sowing or wait for fall.
The best light, soil, and moisture balance
Chervil does best in light shade or partial shade. A spot with morning sun and afternoon shelter works well, especially in warmer areas. Strong sun can dry the leaves and stress the plant before it gets established.
The soil should be loose, fertile, and easy for roots to move through. Think of a soft, crumbly bed, not a hard, dry patch that fights every seed.
Before planting, loosen the top layer and remove stones, sticks, and weeds. Then mix in compost or other organic matter if the soil feels poor. Chervil likes a rich bed, and it shows in the leaf growth.
Moisture matters just as much. Keep the soil evenly damp, like a wrung-out sponge. It should never dry out for long, but it also should not stay soggy.
A simple setup helps most:
- Light: partial shade or filtered sun
- Soil: loose, fertile, and well-drained
- Water: steady moisture without puddles
When these three pieces come together, chervil settles in with little drama. Give it a cool, soft start, and it will reward you with fresh leaves that taste delicate and clean.
Planting chervil in pots and containers the easy way
Growing chervil in a pot keeps the plant close at hand and easier to manage. You can move it into shade, watch the moisture level more closely, and pick fresh leaves just steps from the kitchen.
Containers also help in warmer gardens, where the soil can heat up fast. With the right pot and a steady watering habit, chervil can stay soft, green, and full of flavor longer.
Choosing the right pot and potting mix
Pick a container that gives the roots room to move. A pot that is 10 to 12 inches deep works well, and drainage holes are a must.
Chervil has a taproot, so shallow bowls dry out too quickly and limit growth. A deeper pot holds moisture better, which matters because this herb likes steady dampness without soggy soil.
Use a rich, free-draining mix. Peat-free multi-purpose compost mixed with a little loam or well-rotted compost works well, as long as the texture stays light and crumbly.
The goal is simple:
- Moist soil, not wet soil
- Good drainage, not waterlogged roots
- Fertile mix that supports leafy growth
If the mix feels dusty and dry, add compost before planting. If it feels heavy like mud, lighten it with a looser potting blend. Chervil grows best when the roots can breathe.
Sowing seeds and spacing seedlings in containers
Chervil does best when you sow it where it will grow. It dislikes transplanting, so direct sowing is the safer choice and the easiest way to avoid root damage.
Scatter the seeds lightly over the surface, then cover them with only a thin layer of soil. They need light and gentle contact with moisture to sprout well.
Once seedlings appear, thin them before they get crowded. Tight clumps compete for water and light, and that makes the plants weak and spindly.
A simple spacing routine helps:
- Sow seeds thinly across the pot.
- Keep the surface evenly moist until seedlings appear.
- Thin the crowded seedlings so each one has breathing room.
Keep the top of the soil damp, not soaked, while the seeds germinate. A dry crust can stop chervil before it gets started.
Keeping potted chervil cool and watered
Place the pot in a cool, partly shaded spot. Morning sun with afternoon shade works well, especially once the weather warms up.
Check the soil often, because containers dry out faster than garden beds. In warm weather, you may need to water more often, sometimes every day if the pot sits in a bright spot.
Move the container out of harsh afternoon sun when the heat rises. A porch corner, a light shade cloth, or a spot near taller plants can take the edge off the sun and help the leaves stay tender.
A few small habits make a big difference:
- Water when the top of the soil starts to feel dry.
- Give extra water during warm spells.
- Shift the pot if the leaves look wilted by midday.
Fresh chervil keeps growing best when it feels steady, cool, and lightly sheltered. Treat the container like a small shaded refuge, and the plant will reward you with soft leaves ready for the kitchen.
Growing chervil in garden beds for a fuller harvest
Garden beds give chervil enough room to make a soft, leafy patch instead of a few weak stems. They also hold moisture better than many containers, which helps this cool-weather herb stay tender for longer.
The trick is to start with a bed that feels fresh and easy for roots to settle into. Once the soil is right, chervil grows best with simple care, steady water, and a little patience.
Preparing the bed so seedlings can settle in
Start by loosening the soil to a depth of a few inches. Chervil seed is tiny, so it needs a bed that feels fine and crumbly, not packed tight like a hard crust.
Pull out weeds before you sow. Weeds steal moisture and light, and young chervil cannot compete well at the start. After that, work in compost or another organic matter if the soil looks tired, pale, or dry.
A rich bed is much better than an old, dry one. Chervil likes a soil that holds moisture and still drains well, almost like a soft cake crumb. If the surface is rough or cloddy, rake it smooth before planting so the seeds make good contact with the soil.
For best results, aim for:
- Loose soil that roots can move through easily
- Clean surface with weeds and debris removed
- Added compost if the bed feels thin or worn out
Tiny seeds do best in a bed that feels gentle and even. If the surface is fine and crumbly, sprouting becomes much easier.
Spacing, thinning, and row layout that make sense for beginners
Sow chervil in shallow rows so you can keep track of the seedlings as they come up. Rows about 6 to 8 inches apart work well for most home beds, and they make watering and thinning much easier.
After the seedlings appear, thin them before they get crowded. A good final spacing is about 9 to 12 inches between plants, which gives each one room for leaves to spread and air to move around the stems.
Thinning may feel harsh at first, but it helps the whole patch. Crowded plants trap damp air, compete for food, and stay small. When you leave stronger seedlings with space around them, they grow fuller and stay healthier.
A simple approach works best:
- Sow seeds thinly in shallow rows.
- Keep the soil damp until seedlings emerge.
- Thin the weakest plants when they are a few inches tall.
- Leave the strongest seedlings spaced apart.
Snip extras at the soil line instead of pulling them. That keeps nearby roots undisturbed and helps the rest of the row settle in.
How to keep bed-grown chervil from drying out
Chervil hates dry spells. Even a short stretch of heat or dry soil can slow growth, weaken the leaves, or send the plant into bolting mode faster than you want.
Water steadily so the soil stays evenly moist. A deep drink is better than a quick splash, because it helps moisture reach the roots instead of sitting on top. Check the bed often in warm weather, especially if the top layer starts to look pale or dusty.
Mulch can help if your bed tends to dry out fast. A light layer of fine compost, straw, or shredded leaves helps hold moisture and keeps the root zone cooler. Just keep the mulch thin so seedlings can still breathe and grow.
Watch the weather too. Hot spells can sneak up fast, and chervil feels the stress quickly. If the sun starts to beat down, give the bed more attention and water earlier in the day.
Simple habits work best here:
- Water before the soil dries out completely.
- Add a light mulch after seedlings are established.
- Check the bed more often during hot, windy weather.
Chervil grows best when its soil stays cool and damp, so consistency matters more than heavy watering. A bed that stays softly moist gives you the fullest harvest and the best flavor.
Simple care habits that keep chervil tender and flavorful
Chervil stays at its best when the care stays gentle. Give it steady moisture, a cool spot, and a light hand with feeding, then harvest before the plant starts to rush into flower.
The goal is simple: keep the leaves soft, fresh, and bright-tasting for as long as possible. Once chervil feels stressed, it shows fast, so small daily habits matter more than heavy intervention.
Watering often enough without overdoing it
Chervil likes soil that stays evenly moist, almost like a wrung-out sponge. If the soil swings from dry to soaked, the plant reacts with stress, and stressed chervil loses its tender texture faster.
Water before the top layer dries out completely, especially during warm spells. A steady rhythm works better than a big soak after the plant has already wilted, because irregular watering can make stems tough and leaves less flavorful.
Containers need extra attention here. Pots dry out faster than garden beds, so check them more often and water sooner if the surface feels dry. In a bed, the soil usually holds moisture longer, but it still needs regular checks after sunny, windy weather.
A simple approach helps:
- Water when the top inch of soil starts to dry.
- Give a deeper drink instead of several light splashes.
- Check pots daily in warm weather.
- Keep bed soil damp, but never soggy.
When to thin, feed, or leave it alone
Chervil often does best with light-touch care. If the seedlings crowd each other, thin them early so air can move through the stems and the stronger plants have room to grow.
Feeding is usually simple too. If the soil is already rich, leave it alone. If it looks tired or pale, mix in a little compost or give a gentle, diluted feed, but keep it modest. Too much fertilizer can push weak, fast growth instead of soft, good-tasting leaves.
Most of the time, less really is more. Chervil does not need constant fuss, and it usually performs better when you avoid overfeeding or disturbing the roots.
For quick care decisions:
- Thin crowded plants once they are large enough to handle.
- Add compost only if the soil seems poor.
- Skip heavy feeding unless growth looks weak.
Chervil rewards calm, steady care. If the soil is moist and the plants have room, they usually do the rest.
What to do when warm days arrive too soon
Warm weather can shorten chervil’s season fast. When temperatures rise, give the plant more shade, more water, and less time before harvest.
Move containers to a cooler spot if you can, or use nearby plants, a fence, or light shade to soften the afternoon sun. In beds, a little extra cover can help keep the soil cooler and slow stress on the leaves.
Harvest more often during warm spells. Pick young leaves while the flavor is still sweet and delicate, because chervil may finish sooner than expected once heat builds. If you wait too long, the plant can bolt and turn sharp or bitter.
A simple warm-weather plan looks like this:
- Water earlier in the day so roots start hydrated.
- Add shade during hot afternoons.
- Pick the best leaves sooner rather than later.
- Replant in small rounds if you want a fresh supply.
Chervil gives its best flavor before the heat wins. When the days turn warm, treat each harvest like a small gift, and use the leaves while they are still soft and fragrant.
Harvesting chervil and using it in the kitchen
Chervil is at its best when you treat it like a fresh, tender herb, not a long-keeping one. Pick it young, use it soon, and keep the leaves moving into the kitchen before the plant gets tired or starts to flower.
The flavor is gentle, a little grassy, and slightly sweet. That makes it easy to tuck into simple meals without taking over the dish.
How to harvest so the plant keeps producing
Start harvesting when the plant is still young and leafy. The best leaves come from chervil that looks soft, green, and full, usually before it grows tall or sends up flower stalks.
Snip the outer leaves first with scissors or clean snips, then leave the center growth in place. That helps the plant keep pushing out fresh leaves, which gives you a longer harvest window.
Pick only what you need each time. If you take too much at once, the plant loses steam faster. Frequent light picking works better than one hard cut, and it often extends the useful life of the plant.
A simple harvest habit looks like this:
- Cut the outer leaves or small stems.
- Leave the center crown intact.
- Harvest while the plant is still young and soft.
- Pick again soon if new growth appears.
Chervil rewards regular picking. The more often you take a little, the longer it stays useful.
If flower stalks start to form, cut them back right away. That slows the shift toward seed and helps the leaves stay worth using a bit longer.
Easy ways to use fresh chervil at home
Fresh chervil fits easily into everyday cooking. It works best in dishes with light flavors, where its delicate taste can stay noticeable.
Try it in simple meals like these:
- Salads: Add chopped chervil to green salads for a soft herbal note.
- Soups: Stir it in at the end, just before serving.
- Egg dishes: Mix it into scrambled eggs, omelets, or egg salad.
- Herb butter: Blend chopped chervil into softened butter with a pinch of salt.
- Potato dishes: Sprinkle it over warm potatoes or stir it into mashed potatoes.
- Soft cheese: Mix it into cream cheese or cottage cheese for a fresh spread.
For a quick kitchen herb mix, add a few chervil leaves to mint, lemon balm, or parsley, then steep them in hot water for a light tea-style drink. Keep the steeping time short so the flavor stays mild and clean. Chervil also works well in small amounts alongside lemon and honey if you want a gentle evening sip.
When you cook with chervil, add it near the end. Long cooking flattens its flavor fast, so a last-minute sprinkle keeps it bright. A few chopped leaves can lift a whole dish without much effort, which is exactly why this herb earns its place near the stove.
Conclusion
Chervil is one of the easiest herbs to grow at home when you give it the basics it wants, cool weather, steady moisture, and gentle light. That simple mix keeps the leaves soft and the flavor fresh, whether you grow it in a pot on a porch or in a loose garden bed.
For beginners, the best move is to start small and sow a little at a time. Chervil grows fast, rewards quick picking, and gives you a fresh harvest before many other herbs have even settled in.
Try chervil in a pot or bed this season, and watch how quickly it comes up and fills out.
Stay Connected for More Natural Living Inspiration
If you enjoyed this post about herbal wellness and love discovering natural ways to refresh your home and wellness, don’t miss out on future recipes and clean-living tips! Subscribe to the blog for weekly DIYs, wellness inspiration, and herbal remedies delivered straight to your inbox.
Don’t forget to visit my Amazon storefront for the links to my favorite essential oils, herbal teas, and natural recipes. I also create YouTube ambiance videos for sleeping; a project I created to help with insomnia symptoms and the second channel, Rooted in Nature YouTube Channel both channels feature herbal recipes for wellness and home. The link to all social media content is here.
Thanks for coming by!

Leave a Reply